- No-bake dessert requiring minimal effort for maximum impact.
- Perfect for last-minute gatherings, cravings, or pleasing crowds.
- Incredibly simple to assemble and always a massive hit.
- Nostalgic childhood favorite with an effortless, elegant twist.
This no bake dessert means less stress and more deliciousness!
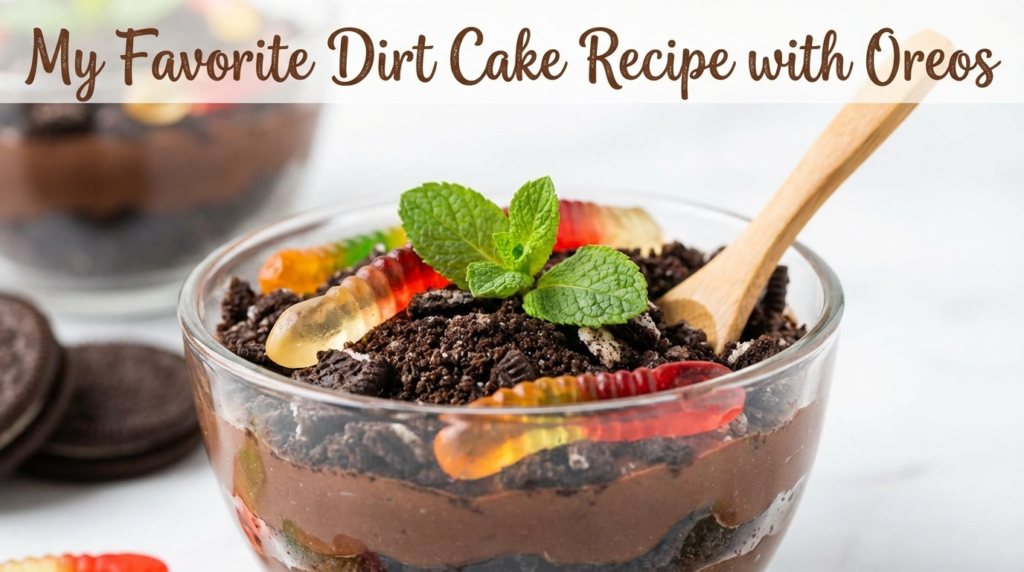
There are days when I need a show-stopping dessert that requires minimal effort but maximum impact. You know those moments – a last-minute potluck invite, a sudden craving for something truly indulgent, or just wanting to bring a smile to everyone’s face without spending hours in the kitchen. That’s exactly when my go to Dirt Cake Recipe with Oreos saves the day. It’s incredibly simple to assemble, always a massive hit, and perfect for making ahead, which is a lifesaver on busy days.
Why You Will Love This Dirt Cake Recipe
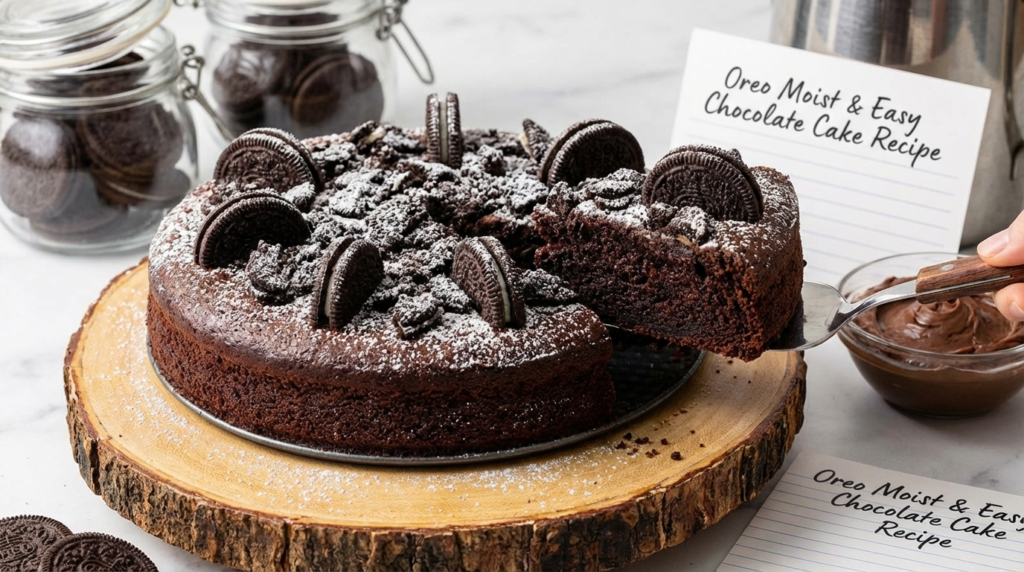
This isn’t just another dessert; it’s a nostalgic trip to childhood with a grown-up twist of effortless elegance. I’ve made this more times than I can count, and it never fails to impress. It’s perfect for any gathering, from casual backyard barbecues to festive holiday meals.
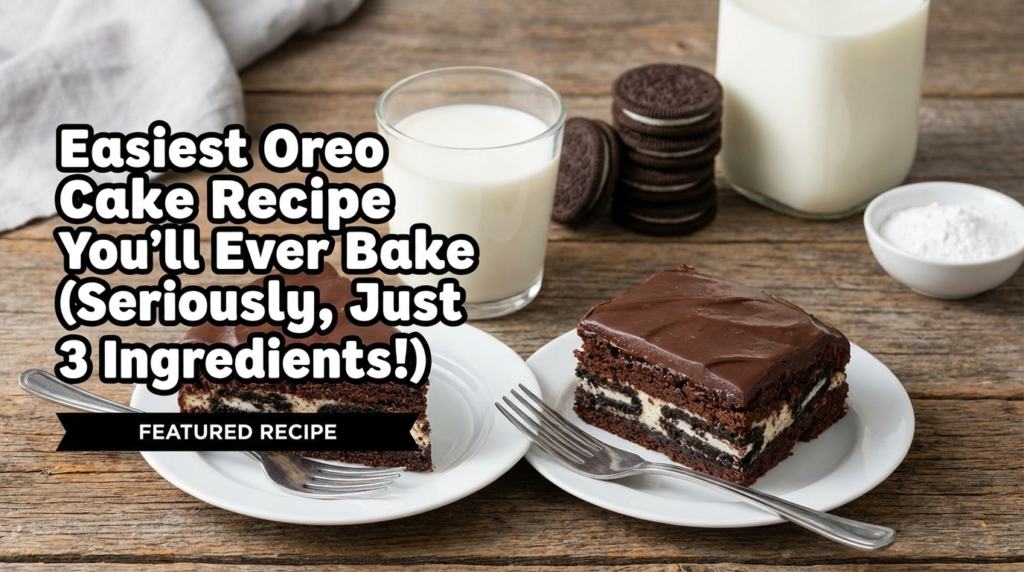
You’ll love how quickly it comes together – seriously, under 20 minutes of active prep time! Plus, it’s one of those fantastic easy no-bake desserts that lets your fridge do all the hard work. The combination of rich chocolate cookies and a creamy, dreamy pudding layer is simply irresistible. It’s truly a crowd-pleaser and often considered one of the best chocolate dessert options when you want something comforting and fun.
Ingredients for Your Oreo Dirt Cake
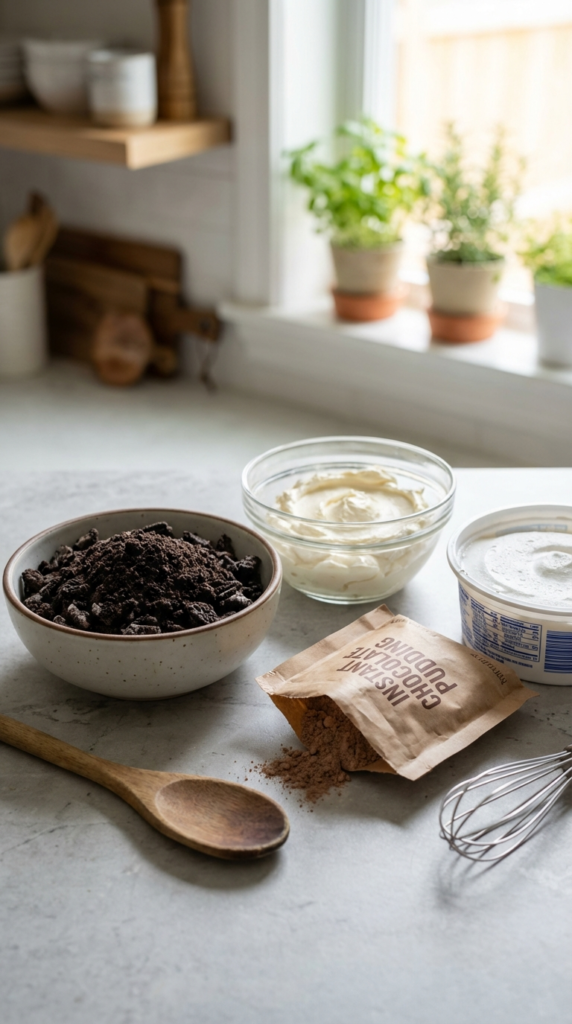
The beauty of this Dirt Cake Recipe with Oreos lies in its simplicity. You only need a handful of readily available ingredients to create something truly magical.
Oreo Cookies: The star of the show! You’ll need a whole package, crushed finely to mimic “dirt.” I always go for the classic sandwich cookies.
Cream Cheese: Softened to room temperature, this gives the creamy layer a wonderful tang and richness.
Unsalted Butter: Also softened, it helps create that smooth, luscious base for our cream cheese mixture.
Powdered Sugar: For sweetness and a smooth texture in the cream cheese filling.
Milk: Cold milk for whisking with the pudding mix. Any kind works, but whole milk gives the creamiest result.
Instant Vanilla Pudding Mix: Two boxes are needed. Make sure it’s instant, not cook-and-serve. Chocolate pudding also works if you prefer!
Whipped Topping: Like Cool Whip, thawed. This lightens the cream cheese mixture and makes it incredibly fluffy.
How To Make My Classic Dirt Cake
This is where the magic happens, and it’s surprisingly quick! I promise, if you can stir and layer, you can make this Dirt Cake Recipe with Oreos perfectly.
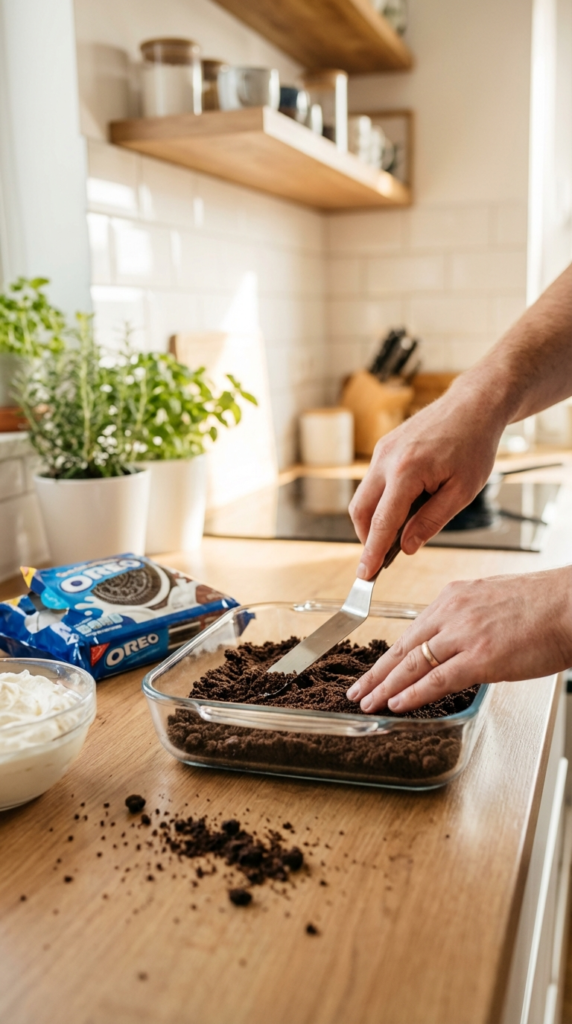
1. Crush the Oreos: Place the entire package of Oreos in a large Ziploc bag and crush them using a rolling pin until they resemble fine dirt. Set aside about 1/2 cup for garnish.
2. Make the Cream Cheese Base: In a large mixing bowl, beat the softened cream cheese and butter together until light and fluffy. Gradually add the powdered sugar and beat until smooth, scraping down the sides of the bowl as needed.
3. Whip the Pudding: In a separate medium bowl, whisk together the cold milk and instant pudding mixes for about 2 minutes, until thickened.
4. Combine and Fold: Add the pudding mixture to the cream cheese mixture and beat until well combined. Gently fold in the thawed whipped topping until no streaks remain.
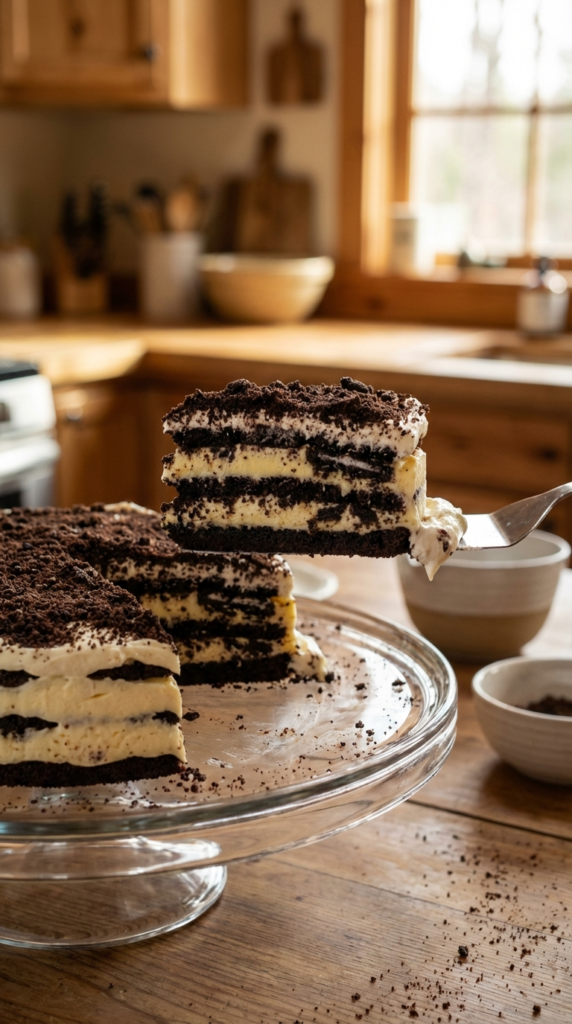
5. Layer Time: In a 9×13 inch pan or a large trifle dish, spread about one-third of the crushed Oreos on the bottom. Top with half of the creamy pudding mixture, spreading it evenly.
6. Repeat and Chill: Add another one-third of the crushed Oreos, then the remaining pudding mixture. Finish with the reserved crushed Oreos on top. Cover tightly and refrigerate for at least 4 hours, or preferably overnight, to allow the layers to set and the flavors to meld.
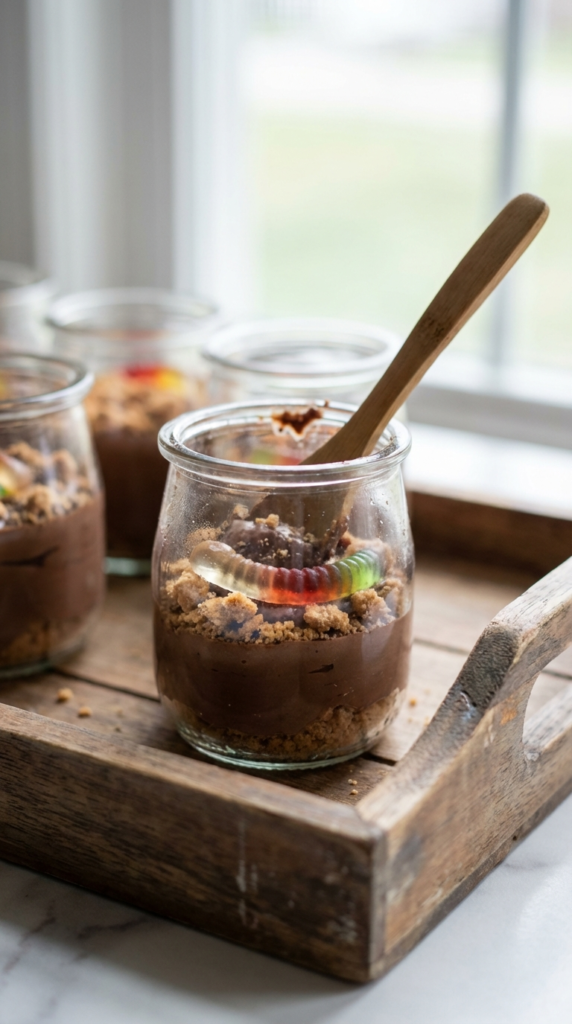
7. Serve and Enjoy: Just before serving, if desired, add some gummy worms or candy rocks for an extra playful touch.
Dirt Cake Recipe with Oreos
Prep Time: 20 minutes
Chill Time: 4 hours
Total Time: 4 hours 20 minutes
Servings: 12
Ingredients
- 1 (14.3 oz / 400g) package Oreo cookies
- 1 (8 oz / 226g) package cream cheese, softened
- 1/2 cup (113g) unsalted butter, softened
- 1 cup (120g) powdered sugar
- 3 cups cold milk
- 2 (3.4 oz / 96g) packages instant vanilla pudding mix
- 1 (8 oz / 226g) container whipped topping, thawed
- Optional: Gummy worms for garnish
Instructions
- Place Oreo cookies in a large plastic bag and crush them into fine crumbs using a rolling pin. Set aside about 1/2 cup of crumbs for the top layer.
- In a large mixing bowl, beat the softened cream cheese and butter with an electric mixer until light and fluffy. Gradually add the powdered sugar and beat until smooth and well combined.
- In a separate medium bowl, whisk together the cold milk and instant vanilla pudding mixes for 2 minutes, or until the mixture begins to thicken.
- Add the pudding mixture to the cream cheese mixture and beat until thoroughly combined. Gently fold in the thawed whipped topping until everything is incorporated and smooth.
- Spread approximately one-third of the crushed Oreo crumbs evenly into the bottom of a 9×13 inch baking dish or a large trifle bowl.
- Carefully spoon half of the creamy pudding mixture over the Oreo layer, spreading it gently to the edges.
- Top with another one-third of the crushed Oreo crumbs.
- Spread the remaining pudding mixture over the second Oreo layer.
- Sprinkle the reserved 1/2 cup of crushed Oreo crumbs over the top as the final “dirt” layer.
- Cover the dish tightly with plastic wrap and refrigerate for at least 4 hours, or ideally overnight, to allow the cake to set and the flavors to fully develop.
- Before serving, if desired, decorate with gummy worms or candy rocks for a fun “dirt” look. Serve chilled.
My Kitchen Tips
After years of making this classic, I’ve picked up a few tricks that make a real difference.
- Soften Ingredients Properly: Don’t rush softening your cream cheese and butter. This ensures a silky-smooth, lump-free pudding mixture. I usually leave them out for at least an hour on the counter.
- Crush Uniformly: Aim for consistently fine Oreo crumbs. A food processor makes quick work of this, but a Ziploc bag and rolling pin work just as well for a bit of stress relief!
- Chill Time is Key: The longer this dessert chills, the better. It allows the pudding to fully set and the cookie crumbs to slightly soften, creating a wonderfully cohesive texture. Overnight is truly best.
- Instant Pudding Only: Make sure you’re using *instant* pudding mix. The cook-and-serve variety won’t set up correctly for this recipe.
Storing Your Dirt Cake and Make Ahead Notes
This Dirt Cake Recipe with Oreos is a fantastic make-ahead option, which is why it’s my go-to for parties!
Once assembled, cover your dirt cake tightly with plastic wrap and store it in the refrigerator for up to 3-4 days. It actually tastes even better the second day as the flavors have more time to meld. I wouldn’t recommend freezing it, as the texture of the whipped topping can change.
Dirt Cake Variations to Try
While the classic is always a winner, sometimes it’s fun to play around!
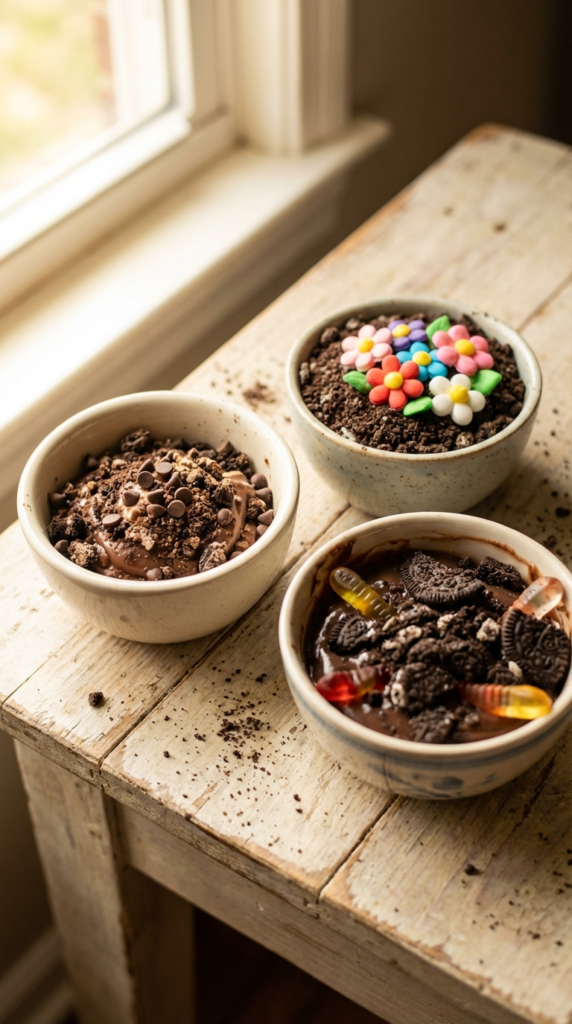
- Pudding Flavors: Swap vanilla pudding for chocolate, white chocolate, or even cheesecake flavored instant pudding for a different twist.
- Cookie Crumbs: Instead of Oreos, try Nilla wafers or graham crackers for a less intense chocolate flavor.
- Add-ins: Fold in mini chocolate chips, chopped nuts, or even some shredded coconut into the pudding layer.
- Boozy Dirt Cake: For an adult version, add a splash of Kahlua or Irish cream liqueur to the pudding mixture.
- Garnish Fun: Besides gummy worms, consider candy flowers, chocolate rocks, or even small toy shovels for a truly themed dessert!
This Dirt Cake Recipe with Oreos is more than just a dessert; it’s a memory maker, a crowd-pleaser, and a lifesaver for busy hosts. I hope you try it for your next gathering or just a fun treat at home. It truly embodies easy, delicious baking!
Don’t forget to save this recipe for later on Pinterest, or share it with a friend who needs a stress-free dessert solution! Happy baking (or rather, no-baking)!