No oven? No problem! Your new favorite dessert is here.
Do you ever find yourself craving a show-stopping dessert but just don’t want to turn on the oven? That was me last summer, eyeing a box of Oreos and a pint of ice cream, dreaming up something simple yet spectacular. This Ice Cream Cake Recipe with Oreos is the answer to all your warm-weather dessert prayers, offering a cool, creamy, and undeniably satisfying treat that’s super freezer-friendly and a joy to make ahead.
Why You Will Love This Recipe
This isn’t just any dessert; it’s a celebration in every slice. I’ve made this countless times for backyard BBQs, birthday parties, and even just a quiet Friday night. It consistently gets rave reviews.
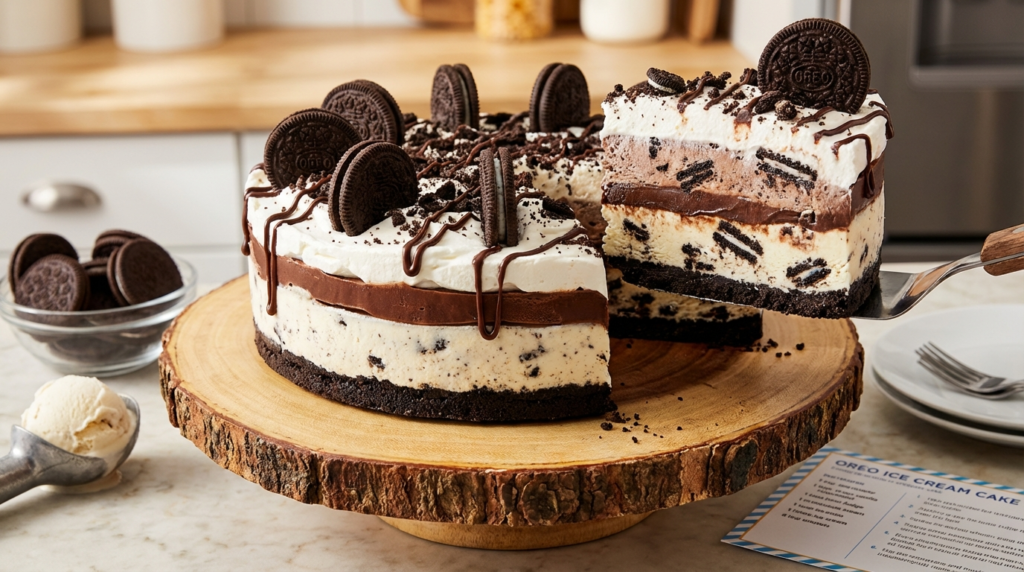
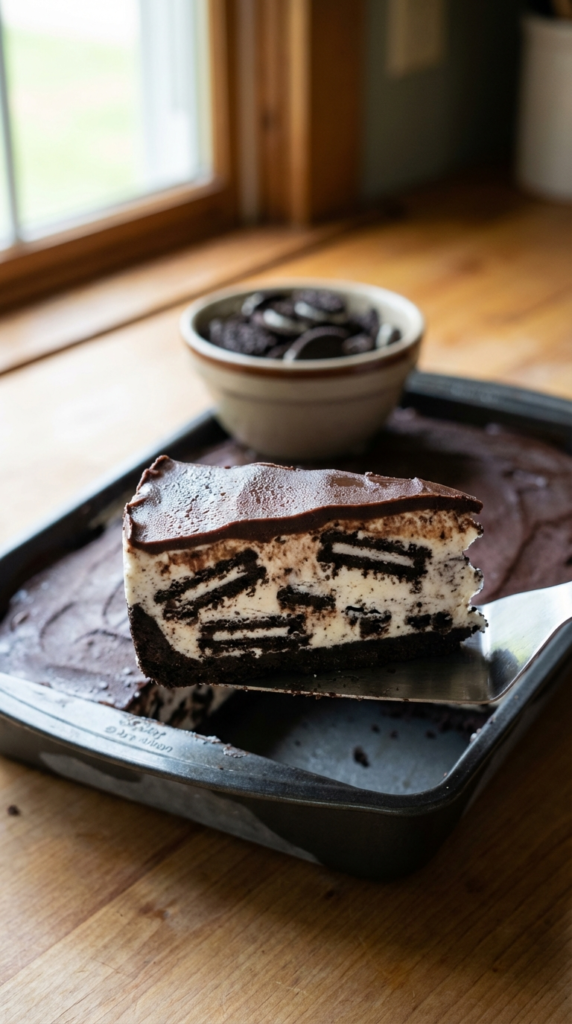
What makes it so special? It’s the delightful contrast of crunchy Oreo crust, smooth vanilla ice cream, and rich chocolate fudge sauce, all coming together in perfectly defined layers. Plus, it’s remarkably simple to put together, making you look like a pastry chef with minimal effort.

Ingredients You Need
The beauty of this layered Oreo dessert lies in its simplicity. You only need a handful of accessible ingredients to create something truly spectacular.
Here’s what I keep on hand for this recipe:
- Oreo Cookies: The star! You’ll need a full package for the crust and crumbled layers.
- Melted Butter: To bind the cookie crumbs into a perfect crust.
- Vanilla Ice Cream: I always go for a good quality brand, as it’s a prominent flavor. Softening it slightly makes it much easier to spread.
- Chocolate Fudge Sauce: Store-bought works wonderfully, or you can make your own.
- Whipped Topping (optional): For an extra creamy layer or garnish.
That’s it! Simple ingredients, incredible results.

How To Make It
The process for this homemade ice cream cake is incredibly straightforward. The key is to allow enough freezing time between layers to ensure a clean, beautiful presentation when you slice into it. Patience is your best friend here!
First, you’ll create your sturdy Oreo crust, then layer in that wonderfully soft ice cream. A drizzle of chocolate fudge, a sprinkle of more Oreos, and a final creamy layer before freezing it solid. It’s almost therapeutic, watching it all come together.
Oreo Ice Cream Cake
Prep Time: 25 minutes
Cook Time: 0 minutes
Total Time: 4 hours (plus freezing)
Servings: 8-10
Ingredients
- 1 (14.3 oz / 400g) package Oreo cookies, divided
- 6 tablespoons unsalted butter, melted
- 1.5 quarts (approx. 1.4 liters) vanilla ice cream, slightly softened
- 1 cup chocolate fudge sauce, plus more for serving
- 1 (8 oz) container frozen whipped topping, thawed (optional, for extra layer)
Instructions
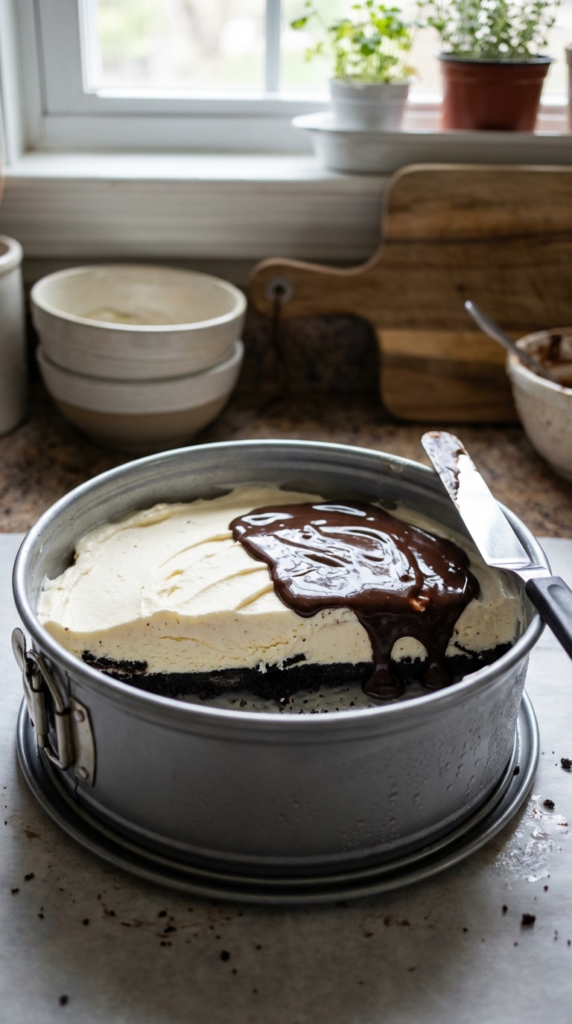
- Line a 9-inch springform pan with parchment paper on the bottom and a strip around the sides for easy removal, or simply grease lightly.
- Crush about 3/4 of the Oreo cookies into fine crumbs. I use my food processor for this. Reserve the remaining 1/4 of the cookies for topping/layers.
- In a medium bowl, combine the Oreo crumbs and melted butter. Press this mixture firmly into the bottom of the prepared springform pan. Place in the freezer for at least 15 minutes to set.
- While the crust chills, let the vanilla ice cream soften on the counter for about 10-15 minutes until it’s spreadable but not fully melted.
- Spread half of the softened vanilla ice cream evenly over the chilled Oreo crust.
- Drizzle about 1/2 cup of the chocolate fudge sauce over the ice cream layer.
- Roughly chop or break the reserved 1/4 of the Oreo cookies. Sprinkle half of these chopped Oreos over the fudge layer.
- Carefully spread the remaining half of the softened vanilla ice cream over the fudge and chopped Oreos.
- If using, spread the thawed whipped topping evenly over the last ice cream layer. Drizzle with the remaining chocolate fudge sauce and sprinkle with the rest of the chopped Oreos.
- Cover the springform pan tightly with plastic wrap and freeze for at least 4 hours, or preferably overnight, until solid.
- To serve, remove the cake from the freezer 10-15 minutes before slicing. Run a thin knife under hot water, dry it, then use it to cut neat slices. Serve with extra chocolate fudge sauce if desired.
My Kitchen Tips
After making this Ice Cream Cake Recipe with Oreos dozens of times, I’ve gathered a few tricks that make all the difference. For perfectly defined layers, make sure your ice cream is just soft enough to spread. Too hard, and it’s a battle; too soft, and your layers will melt into each other.
Also, don’t skimp on the freezing time between layers if you can help it. It ensures everything stays where it should. If you love homemade toppings, try making your own homemade whipped cream for an extra touch of freshness!
Storage and Make Ahead
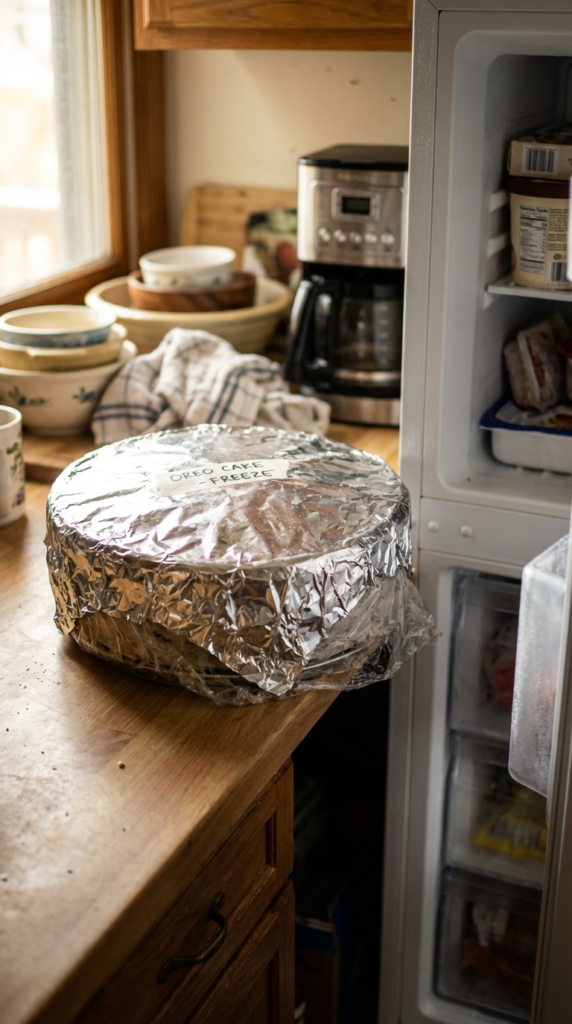
This is truly a fantastic make-ahead dessert. You can prepare the entire ice cream cake up to a week in advance. Just be sure to wrap it tightly in plastic wrap (and then foil for extra protection) before returning it to the freezer. This prevents any freezer burn and keeps it tasting fresh.
When you’re ready to serve, simply pull it out of the freezer about 10-15 minutes beforehand. This brief rest time allows it to soften just enough for easy slicing without becoming a messy puddle. For the best flavor and texture, I always recommend enjoying it within a week, though it rarely lasts that long in my house!
Variations
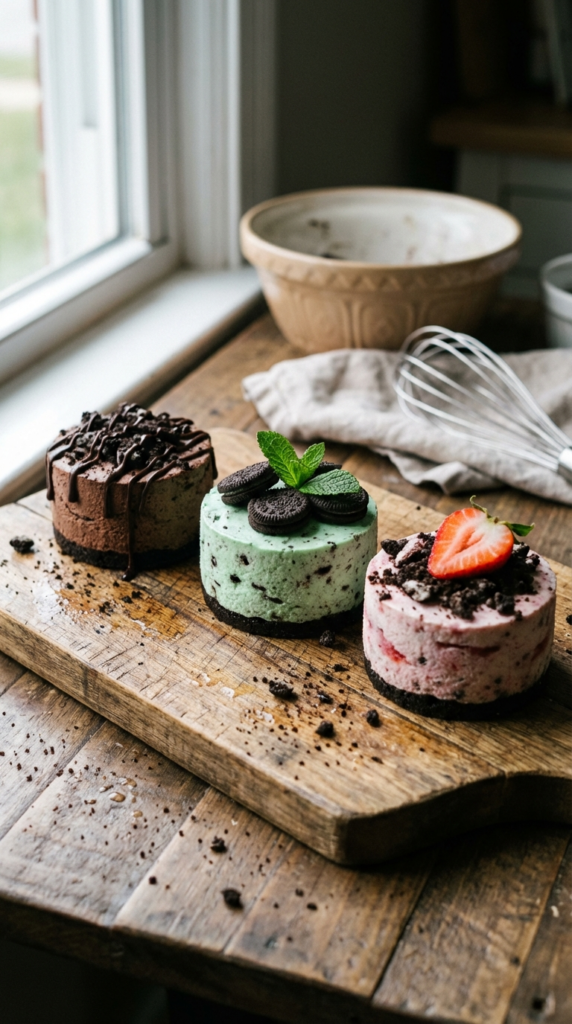
While the classic vanilla and Oreo combination is a winner, this recipe is super flexible! Feel free to get creative with your favorite ice cream flavors. Chocolate ice cream makes it extra rich, mint chip adds a refreshing twist, or even strawberry for a fruity touch.
You can also swap out the chocolate fudge sauce for a luscious caramel sauce or even a white chocolate ganache for a different flavor profile. Sprinkle in some mini chocolate chips, chopped candy bars, or even toasted nuts for added texture.
This Ice Cream Cake Recipe with Oreos is more than just a dessert; it’s an experience. It’s the perfect way to cool down, celebrate, or simply indulge in a moment of pure bliss. I truly hope you give it a try in your kitchen! Once you make it, you’ll see why it’s a permanent fixture on my dessert rotation.
Don’t forget to save this recipe for later on Pinterest! You’ll want to whip this up again and again.