Satisfy your late-night cookie cravings in five minutes flat with no fancy equipment or frozen tubs required.
I have been there more times than I care to admit. It is 10 PM on a Tuesday, the kids are finally asleep, and all I want is a thick, creamy Oreo milkshake. I head to the freezer only to find a sad, empty carton of vanilla bean ice cream. Then, I look at the counter and remember my blender is currently out of commission. In the past, I would have just given up and eaten a plain cookie, but after years of experimenting in my kitchen, I discovered a secret. You do not actually need a blender or ice cream to make a restaurant-quality shake.
This method is a total game-changer for students in dorm rooms, travelers, or anyone who just hates cleaning blender blades. It relies on a few simple pantry staples and a little bit of arm muscle to create a texture that is surprisingly decadent. If you love treats that require zero baking time, you might also want to check out some 4 Ingredient No Bake Desserts You’ll Adore! for your next sugar fix.
The Magic of a No Blender Milkshake
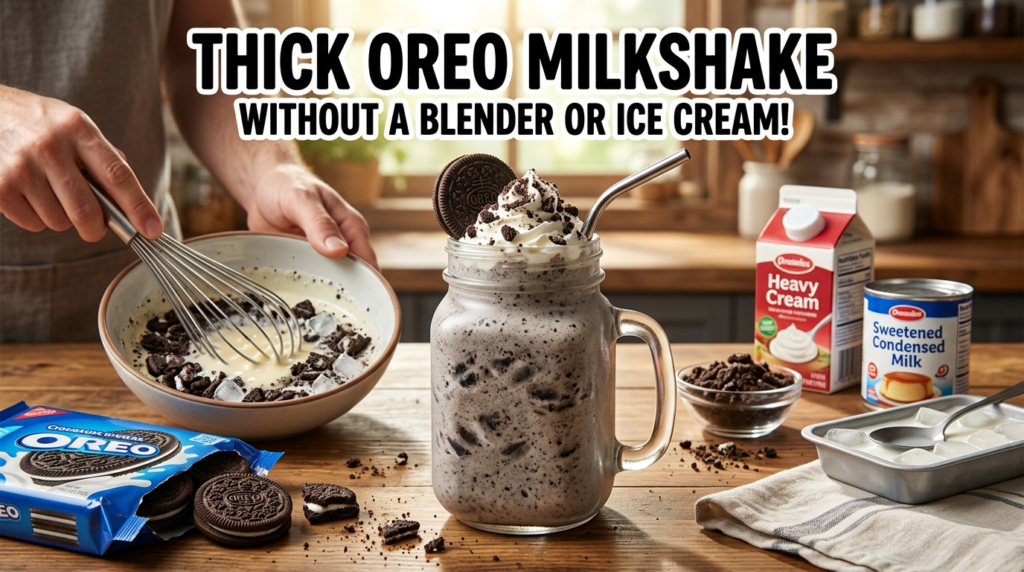
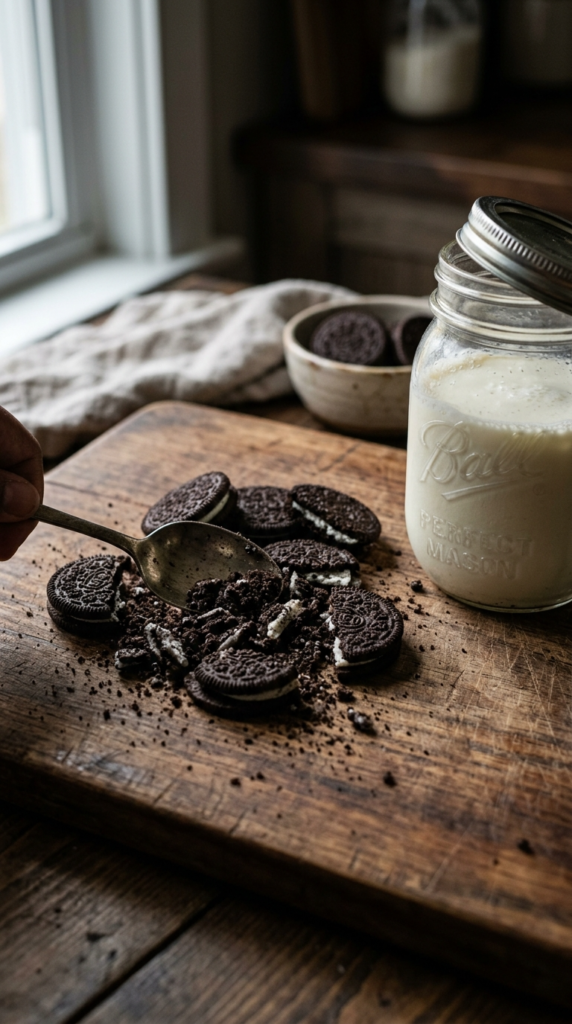
The biggest hurdle when you are not using a blender is getting that signature “thick” consistency. Usually, the ice cream does all the heavy lifting. Without it, we have to get creative with how we handle our dairy. The secret lies in a combination of heavy cream, very cold milk, and the cookies themselves. When you crush Oreos into a fine powder, they act as a natural thickening agent for the liquid.
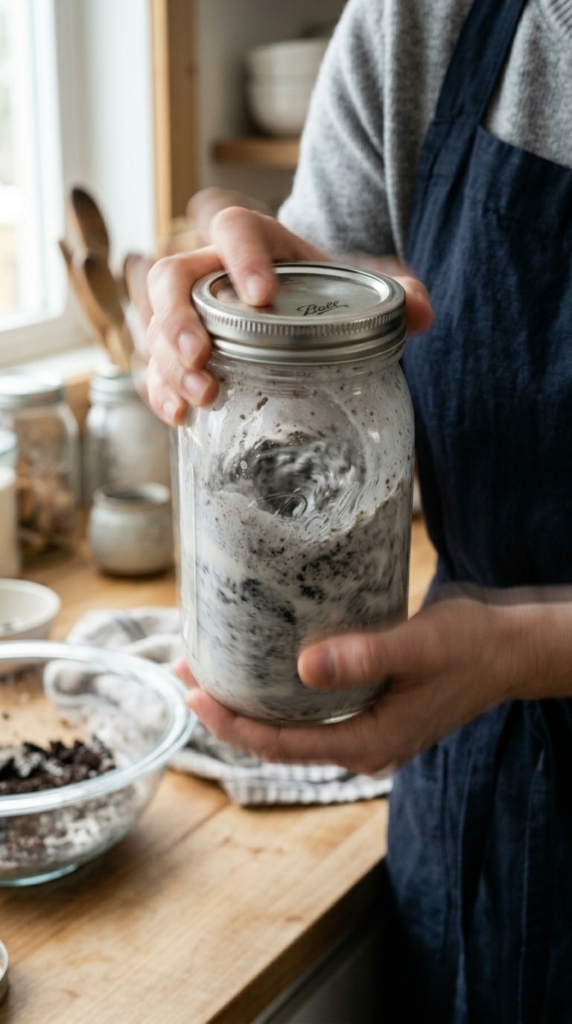
I prefer using a large mason jar for this process. It acts like a cocktail shaker, allowing you to incorporate air and break down the ingredients manually. It is oddly therapeutic to shake up a jar and watch it transform from a thin liquid into a frothy, chocolatey masterpiece. Plus, since you are drinking straight from the jar, there is almost zero cleanup involved. This is the definition of a low-stress dessert.
If you are a fan of using cookies as the star of your dessert table, you should definitely browse through these No Bake Oreo Desserts Your Family Will Absolutely Rave About for more inspiration that does not involve turning on the oven.
Essential Ingredients for a Rich Creamy Shake
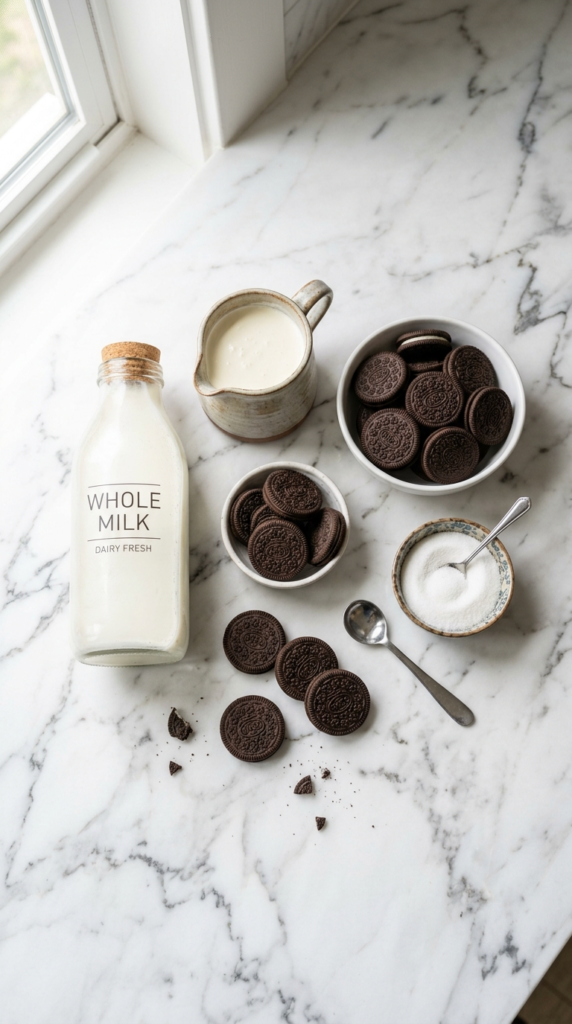
Since we are skipping the ice cream, every ingredient we use needs to bring maximum flavor and fat to the party. Fat equals flavor and texture in the world of milkshakes. You want to reach for whole milk if possible. Skim milk or 1% will result in a watery drink that feels more like flavored milk than a true shake.
Heavy whipping cream is my second “must-have” ingredient. It provides that luxurious mouthfeel that you usually get from high-quality ice cream. If you are looking for a dairy-free version, full-fat coconut milk from a tin works surprisingly well as a substitute. You also need a sweetener. Granulated sugar works, but I personally love using a splash of maple syrup or even condensed milk for an extra layer of richness.
For the cookies, the classic Oreo is king, but do not be afraid to experiment. Golden Oreos or the peanut butter filled versions can completely change the profile of your drink. If you find yourself with an abundance of cookies, save some for My Favorite Dirt Cake Recipe with Oreos, which is another fantastic no-bake option for families.
How to Mimic Ice Cream at Home
The most common question I get is how to make the shake cold and thick without actual ice cream. The answer is a two-step cooling process. First, make sure your milk and cream are as cold as possible. I sometimes put my milk in the freezer for about 15 minutes before I start just to get it right to the edge of freezing.
Second, we use crushed ice, but with a twist. Instead of big chunks that water down the drink, we want to crush the ice inside a plastic bag until it is almost like snow. When you shake this “snow” with the milk and cream, it chills the liquid instantly and creates a slushy, thick texture that mimics the airiness of churned ice cream.
Another pro tip is to freeze your Oreo cookies. Cold cookies don’t just crumble; they shatter into tiny pieces that stay crunchy for longer once they hit the milk. This prevents the shake from becoming a soggy mess before you even finish the first sip.
Pro Tips for Achieving the Perfect Consistency
If you want your shake to be so thick that a straw stands up straight in the middle, you need to pay attention to the ratio of solids to liquids. Start with less milk than you think you need. You can always add a splash more at the end, but you cannot take it away once it is mixed.
Another trick I use is adding a pinch of salt. It sounds counterintuitive for a sweet treat, but a tiny bit of sea salt cuts through the richness of the cream and makes the chocolate flavor of the Oreos really pop. It creates a professional, “gourmet” taste that separates a basic homemade drink from something you would pay ten dollars for at a trendy cafe.
Finally, do not skimp on the crushing. You want a mix of fine “dust” and small chunks. The dust thickens the liquid, while the chunks provide that classic Oreo crunch that we all know and love. I usually put my cookies in a zip-top bag and use a rolling pin or the bottom of a heavy mug to smash them. It is much more effective than trying to break them by hand.
Thick Oreo Milkshake Recipe Card
Prep Time: 5 Minutes | Cook Time: 0 Minutes | Total Time: 5 Minutes | Servings: 1 Large Shake
Ingredients:
- 6 to 8 Oreo cookies (plus extra for garnish)
- 1/2 cup whole milk (very cold)
- 1/4 cup heavy whipping cream
- 1 tablespoon granulated sugar or maple syrup
- 1/2 teaspoon vanilla extract
- 1 cup crushed ice (finely crushed)
- Optional: Whipped cream and chocolate syrup for topping
Instructions:
- Place the Oreo cookies in a sturdy zip-top bag. Use a rolling pin or a heavy spoon to crush them until you have a mix of fine crumbs and small pieces.
- In a large mason jar or a leak-proof container, combine the cold milk, heavy cream, sugar, and vanilla extract.
- Add the crushed cookies and the finely crushed ice to the jar.
- Screw the lid on tightly and shake vigorously for 60 to 90 seconds. You want to feel the mixture thickening and the ice starting to incorporate.
- Open the jar and check the consistency. If it is too thick, add a tablespoon of milk. If it is too thin, add another crushed cookie and shake again.
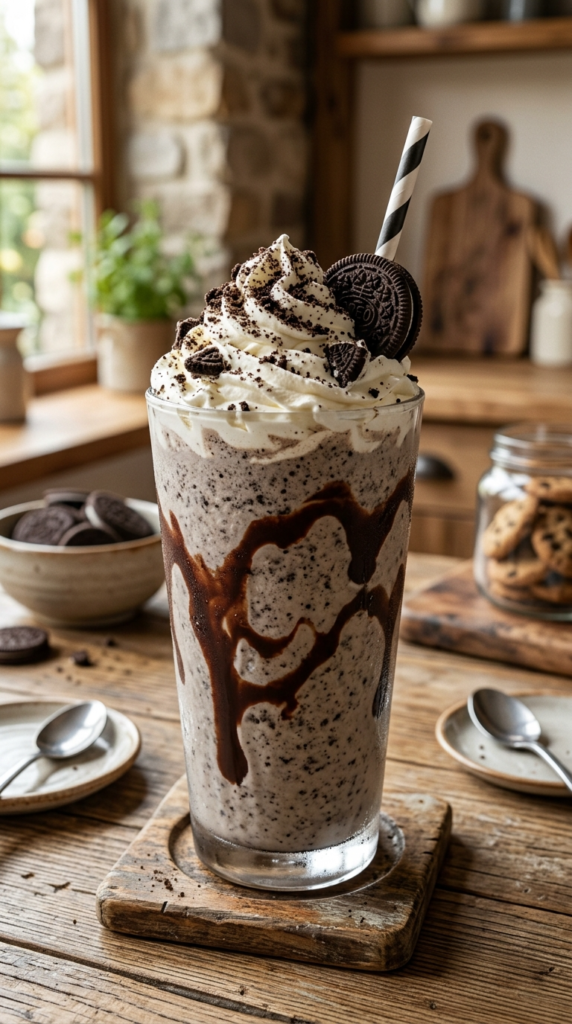
- Drizzle chocolate syrup inside a tall glass, pour in the milkshake, and top with a generous dollop of whipped cream and extra cookie crumbs.
Notes:
For a richer version, replace the sugar with a tablespoon of sweetened condensed milk. If you prefer a “cookies and cream” look, don’t over-shake; leave some larger white cream pockets from the cookies visible.
Frequently Asked Questions About This Recipe
One question I hear constantly is whether you can use a different type of milk. Yes, almond milk or oat milk will work, but because they have a lower fat content, the shake will be significantly thinner. To fix this, I suggest adding a tablespoon of almond butter or a bit of Greek yogurt to help with the body of the drink.
Another common concern is the ice. People worry it will make the shake “crunchy” in a bad way. The key is to crush the ice as fine as possible before adding it. If you have a clean towel, you can wrap the ice in it and bash it against the counter—this is an old-school bartender trick that results in perfect “pebble” ice that melts just enough to chill the dairy without leaving big chunks.
Lastly, if you want to make this for a crowd, you can double or triple the recipe in a large pitcher and use a whisk. It takes a bit more effort, but it is a fun “build your own shake” activity for kids’ parties.
Final Thoughts on This Simple Dessert
Making a thick Oreo milkshake without a blender or ice cream is not just a kitchen hack; it is a life skill for any dessert lover. It proves that you do not need expensive gadgets to enjoy something truly delicious. The combination of cold cream, crunchy cookies, and a little bit of shaking creates a treat that is just as satisfying as any store-bought version.
I hope you give this method a try the next time that craving hits. It is fast, fun, and incredibly rewarding. If you enjoyed this recipe, please save it to your favorite Pinterest board so you can find it later! I would love to hear how yours turned out—did you stick to the classic Oreo or try a fun variation? Happy shaking!