Stop scrolling! This is the party treat you’ve been dreaming of.
I remember the first time I tried to make cake pops from scratch – baking a whole cake, crumbling it, mixing, chilling… it felt like an all-day project! That’s why I absolutely adore this simple no-bake Oreo Cake Pop Recipe. It’s my secret weapon for effortlessly impressive desserts that guests (and my family!) absolutely rave about, solving the problem of needing a showstopper without all the fuss. These delightful bites are quick, budget-friendly, and perfect for any gathering.
There’s something so undeniably charming about a cake pop. They’re miniature, they’re perfectly portioned, and they just scream “fun!” But let’s be honest, the traditional method can be quite a commitment. That’s where this game-changing Oreo Cake Pop recipe comes in. It bypasses the baking entirely, using everyone’s favorite cookie to create a rich, dense, and utterly delicious treat that’s impossible to resist.
I’ve made these for countless birthdays, potlucks, and casual weeknight desserts when I just want something sweet and easy. Each time, they disappear faster than I can put them out. If you’re looking for a dessert that delivers maximum impact with minimal effort, you’ve found your new go-to.
Why You Will Love These Oreo Cake Pops
Beyond being incredibly simple, these Oreo cake pops are a true crowd-pleaser. They don’t require any fancy equipment, just a food processor (or a good old-fashioned zip-top bag and a rolling pin!). They’re a fantastic activity to get kids involved in the kitchen, especially with the dipping and decorating.
I love that they’re completely customizable too. You can adapt them for any holiday, theme, or personal preference with different toppings and chocolate coatings. Plus, they’re ideal for making ahead, which is a lifesaver when you’re planning a party.

Ingredients You Need
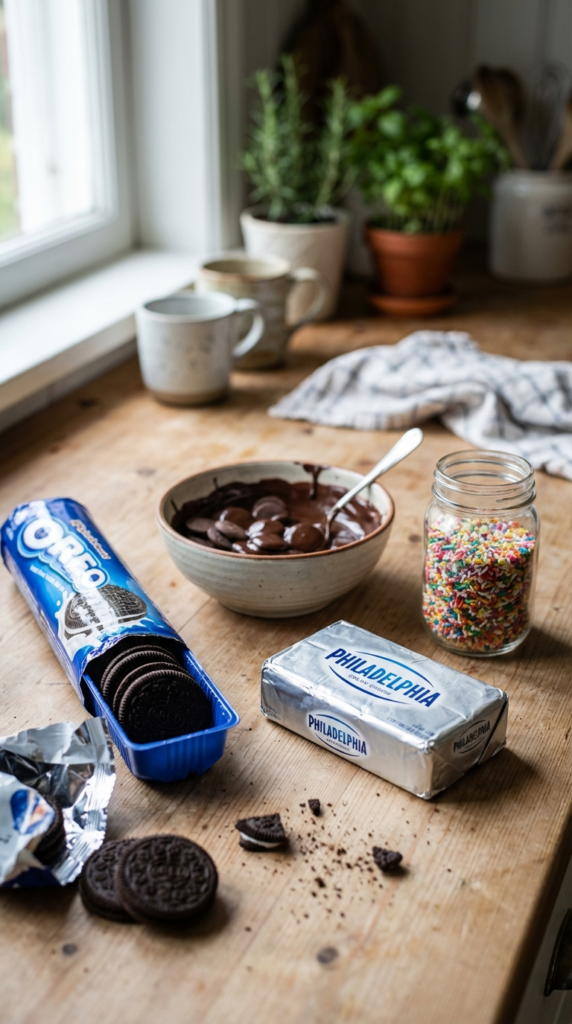
The beauty of this recipe is its simplicity – you only need a few staple ingredients to create something truly magical. I always keep these on hand because you never know when a cake pop craving might strike!
- Oreo Cookies: One standard 14.3-ounce package. Don’t worry about separating the cream; it all gets blended in!
- Cream Cheese: Softened at room temperature. Full-fat cream cheese works best for richness and binding, but lighter versions can also work in a pinch.
- Melting Chocolate: Candy melts or good quality chocolate chips work wonderfully. White chocolate, milk chocolate, or dark chocolate – choose your favorite!
- Optional Toppings: Sprinkles, crushed nuts, extra crushed Oreos, or a contrasting chocolate drizzle.
- Lollipop Sticks: Essential for turning your delicious balls into actual cake pops!
That’s it! With these simple items, you’re well on your way to creating delightful treats.
How To Make It
Making these Oreo cake pops is genuinely so much fun, and the steps are straightforward. Get ready to roll up your sleeves and enjoy the process!
- Crush the Oreos: Place the entire package of Oreo cookies (with the cream filling) into a food processor. Pulse until they resemble fine crumbs. If you don’t have a food processor, place them in a large zip-top bag and crush them with a rolling pin until very fine.
- Mix with Cream Cheese: Add the softened cream cheese to the Oreo crumbs. Process again (or mix thoroughly by hand) until a thick, uniform dough forms. It should be firm enough to roll into balls.
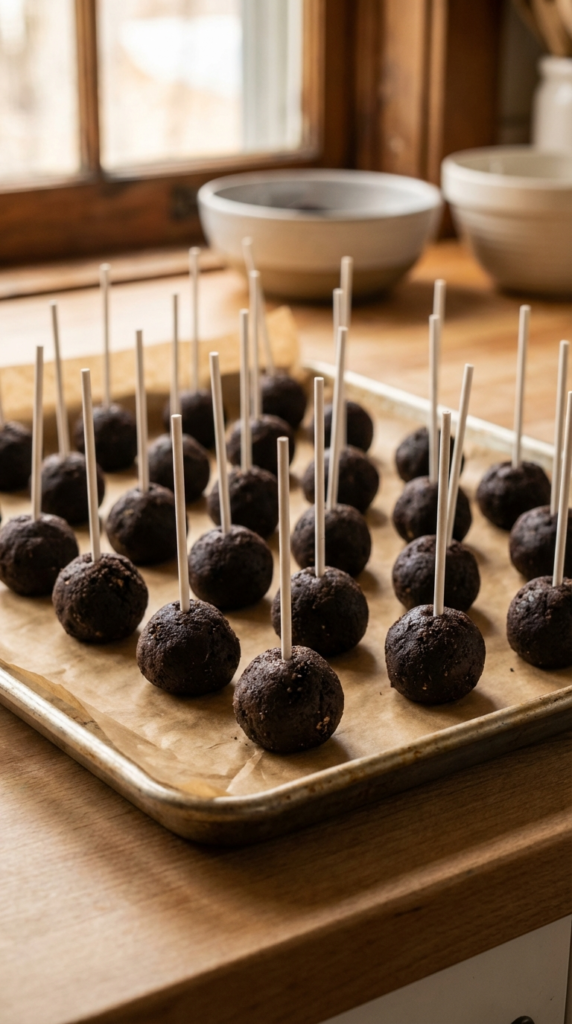
- Roll and Chill: Scoop out small portions of the mixture (about 1 tablespoon each) and roll them into smooth, compact balls. Place them on a baking sheet lined with parchment paper. Insert a lollipop stick about halfway into each ball. Transfer the tray to the refrigerator and chill for at least 30 minutes, or until firm. This step is crucial for preventing them from falling apart when dipping.
- Melt the Chocolate: While the cake pops are chilling, melt your chosen chocolate. You can do this in a microwave-safe bowl in 30-second intervals, stirring between each, until smooth. Alternatively, use a double boiler on the stovetop for consistent melting.
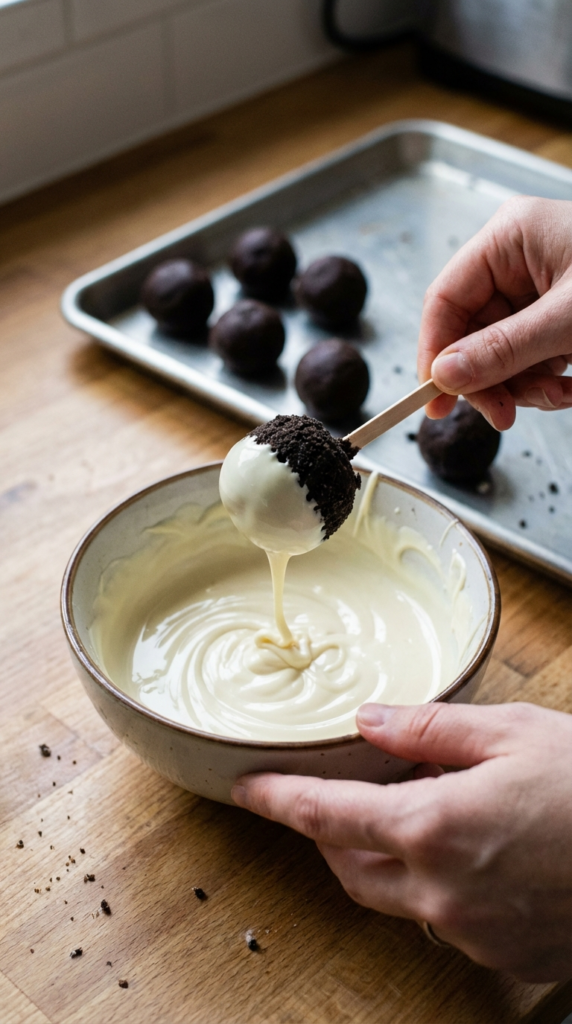
- Dip and Decorate: Once the cake pops are firm, dip each one into the melted chocolate, twirling gently to coat completely. Let any excess chocolate drip off. Immediately add any desired sprinkles or toppings before the chocolate sets.
- Set and Serve: Place the dipped cake pops upright in a block of styrofoam or a tall glass to dry and set completely. This usually takes about 15-20 minutes at room temperature, or you can pop them back in the fridge for quicker setting.
Oreo Cake Pop Recipe
Prep Time: 20 minutes
Cook Time: 0 minutes
Total Time: 1 hour (includes chilling time)
Servings: 20-24 cake pops
Ingredients
- 1 (14.3-ounce) package Oreo cookies
- 8 ounces (1 block) cream cheese, softened
- 12 ounces melting chocolate (candy melts, white chocolate, milk chocolate, or dark chocolate)
- Optional: Sprinkles, crushed Oreos, other toppings
- 20-24 lollipop sticks
Instructions
- Place Oreo cookies (entire package, including cream filling) into a food processor and pulse until fine crumbs form.
- Add softened cream cheese to the Oreo crumbs and process until a thick, uniform dough forms.
- Scoop about 1 tablespoon of mixture per cake pop and roll into smooth, compact balls.
- Place balls on a parchment-lined baking sheet. Insert a lollipop stick halfway into each ball.
- Chill in the refrigerator for at least 30 minutes, or until firm.
- Melt the chocolate in a microwave-safe bowl in 30-second intervals, stirring until smooth, or use a double boiler.
- Dip each chilled cake pop into the melted chocolate, allowing excess to drip off.
- Immediately add any desired sprinkles or toppings before the chocolate sets.
- Place dipped cake pops upright in styrofoam or a tall glass to dry and set completely.
My Kitchen Tips
After making these countless times, I’ve picked up a few tricks that make the process even smoother and ensure perfectly pretty cake pops every time.
- Soften Cream Cheese Properly: This is key! If your cream cheese isn’t soft enough, it won’t combine smoothly with the crumbs, and you’ll end up with lumps. Take it out of the fridge about an hour before you start.
- Chill, Chill, Chill: I can’t stress this enough. Thoroughly chilling your cake balls before dipping is critical. It prevents them from crumbling off the stick and helps the chocolate coating adhere smoothly. Sometimes I even pop them in the freezer for 10-15 minutes for an extra firm base.
- Work Quickly When Dipping: Have all your toppings ready to go before you start dipping. The chocolate sets fast, especially on chilled cake pops, so you need to apply sprinkles or drizzles immediately after dipping.
- Thin Your Chocolate (If Needed): If your melted chocolate seems too thick, you can thin it out a little. For candy melts, a tiny bit of vegetable shortening or coconut oil (about 1/2 teaspoon per cup of melts) can make it smoother. For chocolate chips, a bit of shortening or a tablespoon of neutral oil helps. This creates a thinner, more elegant coating.
- Wiggle the Stick: Before dipping, dip the tip of your lollipop stick into the melted chocolate, then immediately insert it into the cake pop. This acts like glue and helps secure the stick firmly in place.
Storage and Make Ahead
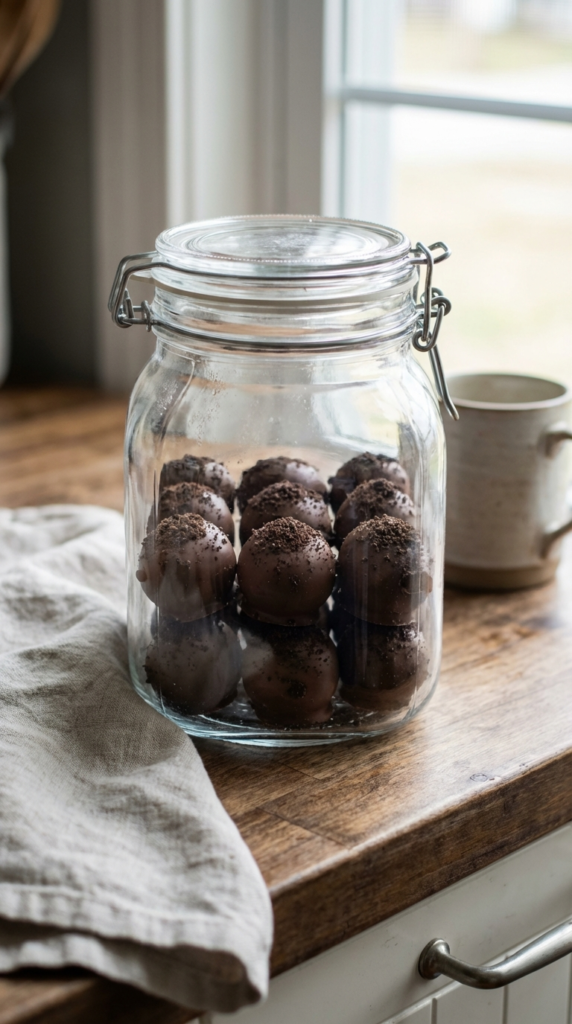
These Oreo cake pops are fantastic for prepping in advance, which is one of my favorite features when I’m hosting. They keep really well, allowing you to get ahead of your party planning.
Once the chocolate coating is fully set, you can store your cake pops in an airtight container at room temperature for up to 2 days, or in the refrigerator for up to a week. If you’re refrigerating them, I find it best to let them come to room temperature for about 15-20 minutes before serving for the best texture and flavor.
You can also prepare the Oreo-cream cheese balls ahead of time and keep them in the fridge for up to 3 days before dipping. This is a great way to split the work! They’re another low-effort, high-reward treat!
Variations
This basic Oreo cake pop recipe is a wonderful canvas for creativity! Here are a few ideas to get you started:
- Flavor Swaps: Try using different flavored Oreos! Golden Oreos with white chocolate, Peanut Butter Oreos with milk chocolate, or Mint Oreos with dark chocolate are all delicious combinations.
- Chocolate Types: Experiment with various melting chocolates. White chocolate can be easily colored with oil-based food coloring for themed parties. Dark chocolate adds a rich, sophisticated touch.
- Extra Mix-Ins: Before rolling, you can add a tablespoon of mini chocolate chips, sprinkles, or even a tiny amount of finely chopped nuts to the Oreo-cream cheese mixture for added texture and flavor.
- Drizzles and Coatings: Instead of just sprinkles, drizzle contrasting melted chocolate over the set pops. Or, roll them in finely crushed toasted coconut, chopped pistachios, or even a dusting of cocoa powder for a sophisticated finish.

I genuinely hope you try this incredibly simple yet utterly delightful Oreo Cake Pop recipe. It’s truly one of my favorite ways to bring a smile to people’s faces with minimal fuss. Whether you’re making them for a grand celebration or just a fun treat for your family, these cake pops are guaranteed to be a hit.
So go ahead, gather your ingredients, and get ready to create some sweet magic in your kitchen. Don’t forget to save this recipe for later on Pinterest, and share it with a friend who loves easy, impressive desserts!