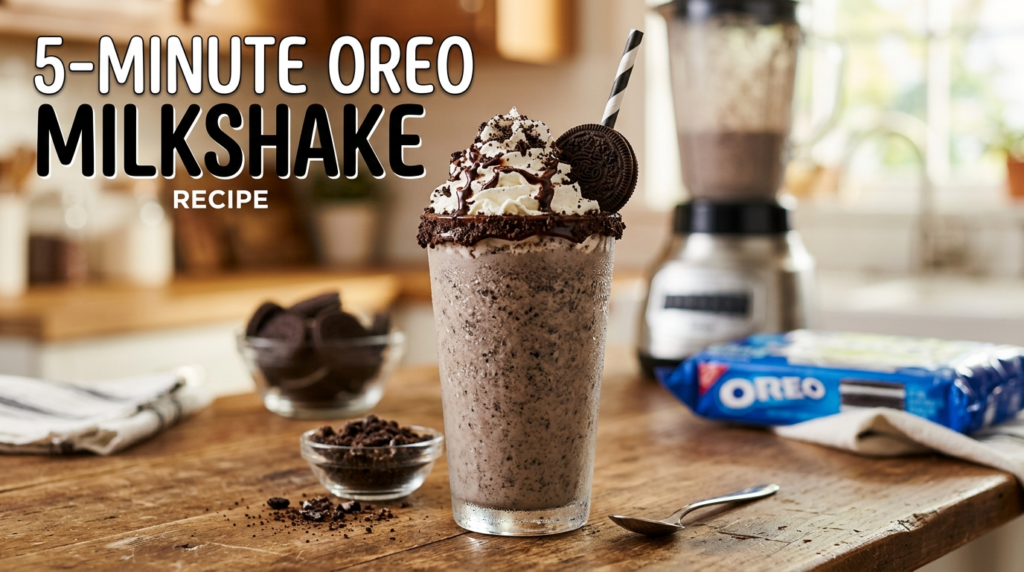
Thick, creamy, and ready in seconds—this is the only Oreo milkshake recipe you will ever need.
We have all been there. It is 9:00 PM on a Tuesday, the kids are finally in bed, and that familiar craving for something sweet starts to kick in. You don’t want to turn on the oven, and you certainly don’t want to spend an hour prepping a complex dessert. You need something fast, satisfying, and reminiscent of those nostalgic diner milkshakes from your childhood. That is exactly where my obsession with the perfect cookies and cream shake began.
I remember the first time I tried to make one at home. I thought I could just toss everything in and hope for the best. What I ended up with was a watery mess that looked nothing like the pictures. After years of testing different ratios of milk to ice cream and experimenting with various cookie-crushing techniques, I have finally cracked the code. This 5-minute Oreo milkshake is the gold standard of quick treats. It is rich, decadent, and requires only three base ingredients that you likely already have in your pantry and freezer.
In this post, I am going to walk you through the process step-by-step. I have designed this recipe to be foolproof, ensuring you get that thick, spoon-able consistency every single time. Whether you are hosting a summer backyard party or just looking for a solo late-night indulgence, this recipe is your new secret weapon. Let’s get blending.
Secret to the Perfect Milkshake Texture
The biggest mistake people make when crafting a milkshake at home is the milk-to-ice cream ratio. If you add too much milk, you lose that luxurious body that makes a shake feel special. If you add too little, your blender might struggle to move the mixture. In my kitchen, I always advocate for starting with less milk than you think you need. You can always add a splash more, but you can’t take it back once it is combined.
Quality matters more than you might think here. Since there are so few components, each one needs to shine. I always reach for a premium, full-fat vanilla bean ice cream. The flecks of real vanilla add a depth of flavor that offsets the sweetness of the chocolate cookies perfectly. For the milk, whole milk is the way to go for the creamiest mouthfeel. If you are looking for more inspiration for quick treats, you should check out these Easy No Bake Desserts for Parties That Everyone Will Love which follow a similar philosophy of maximum flavor with minimum effort.
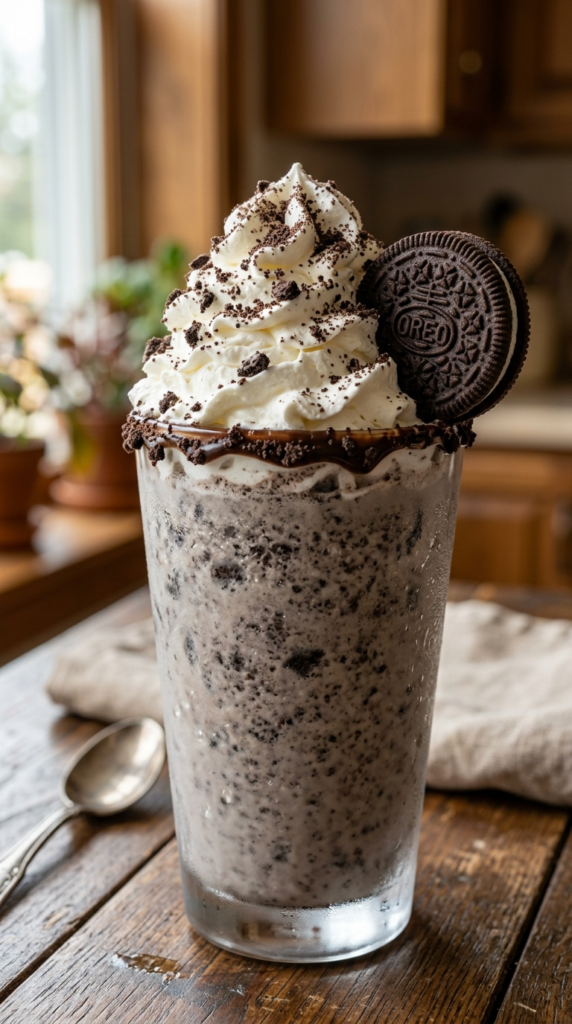
Another pro tip is to chill your glasses in the freezer for about ten minutes before you start. There is something incredibly satisfying about pouring a thick, cold shake into a frosted glass. It prevents the edges from melting too quickly, giving you more time to savor every single sip. This small step is what separates a home cook from a culinary pro.
Essential Ingredients and Possible Substitutions
To make the best cookies and cream experience, you only need three main things, but the toppings are where you can really express your creativity. Here is the breakdown of what I use in my signature version. While the classic Oreo is the star here, don’t be afraid to experiment with the seasonal flavors. Peanut butter Oreos or the mint variety can completely transform the profile of this drink.
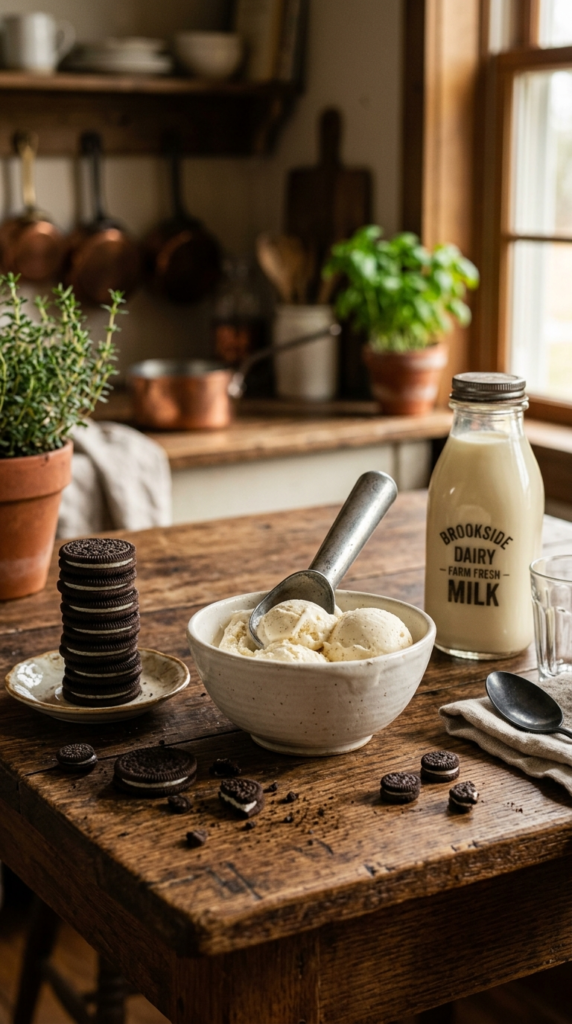
- Vanilla Ice Cream: Use a high-quality brand with a dense texture. Avoid “light” ice creams as they contain more air and will result in a foamy shake.
- Full Fat Milk: This provides the necessary liquid to get the blender moving while maintaining richness.
- Oreo Cookies: I prefer the classic version, but Double Stuf works beautifully if you want a sweeter, creamier result.
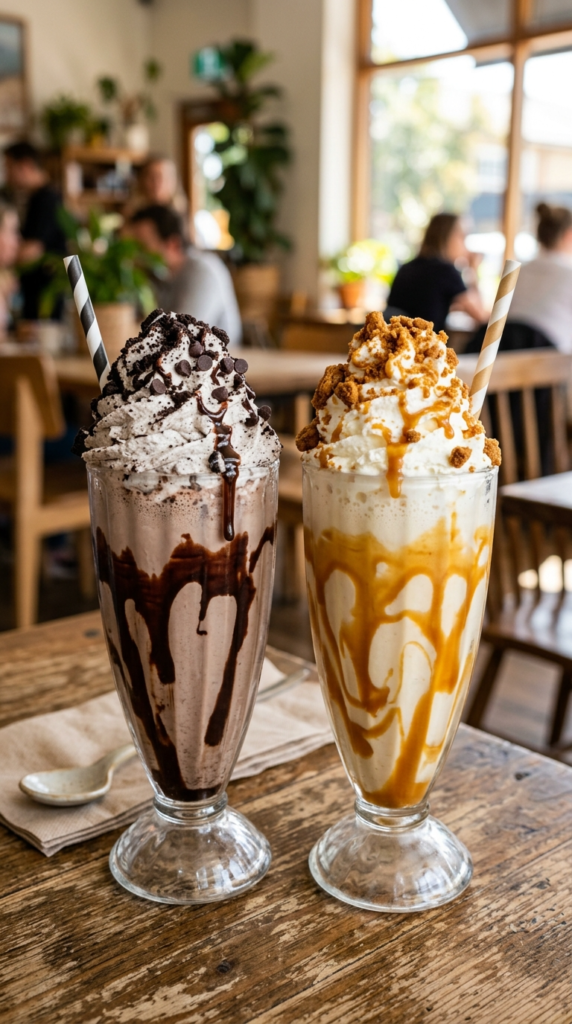
- Whipped Cream: Homemade is best, but a quick spray from a can works in a pinch for that classic diner look.
- Chocolate Syrup: Drizzle this inside the glass before pouring for a stunning visual effect.
If you find yourself constantly reaching for the cookie jar, you might also fall in love with these No Bake Oreo Desserts Your Family Will Absolutely Rave About. There is just something about the combination of chocolate wafers and sweet cream filling that makes people go wild. It is a flavor profile that works for every generation, from toddlers to grandparents.
Customizing Your Five Minute Masterpiece
Once you have the base recipe down, you can start to play with “add-ins” to make it your own. One of my favorite variations involves adding a tablespoon of creamy peanut butter. The saltiness of the peanuts cuts through the sugar of the cookies in a way that is absolutely addictive. If you are a fan of coffee, a shot of chilled espresso turned into an “Oreo Affogato Shake” is a sophisticated way to get your caffeine fix and dessert at the same time.
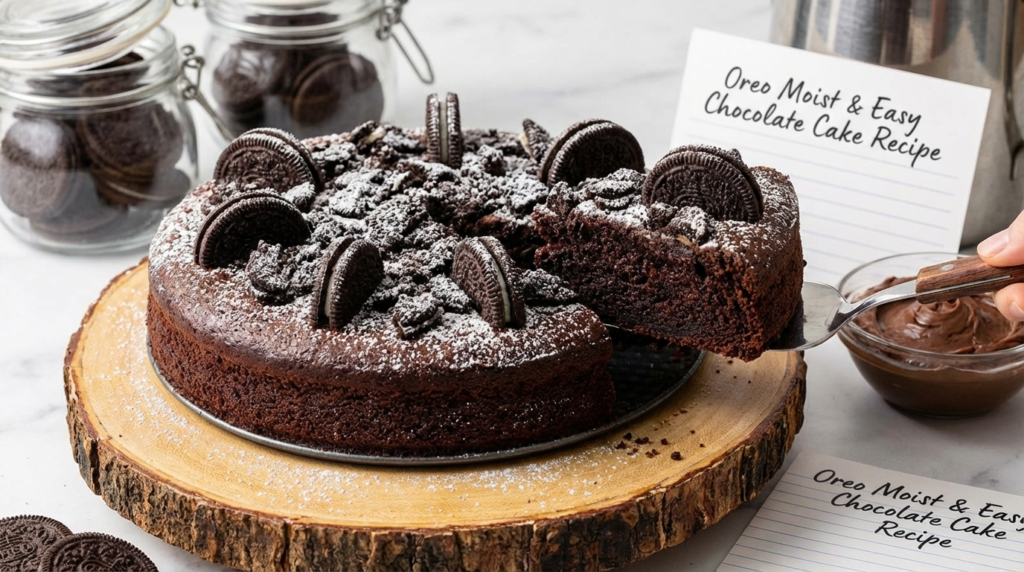
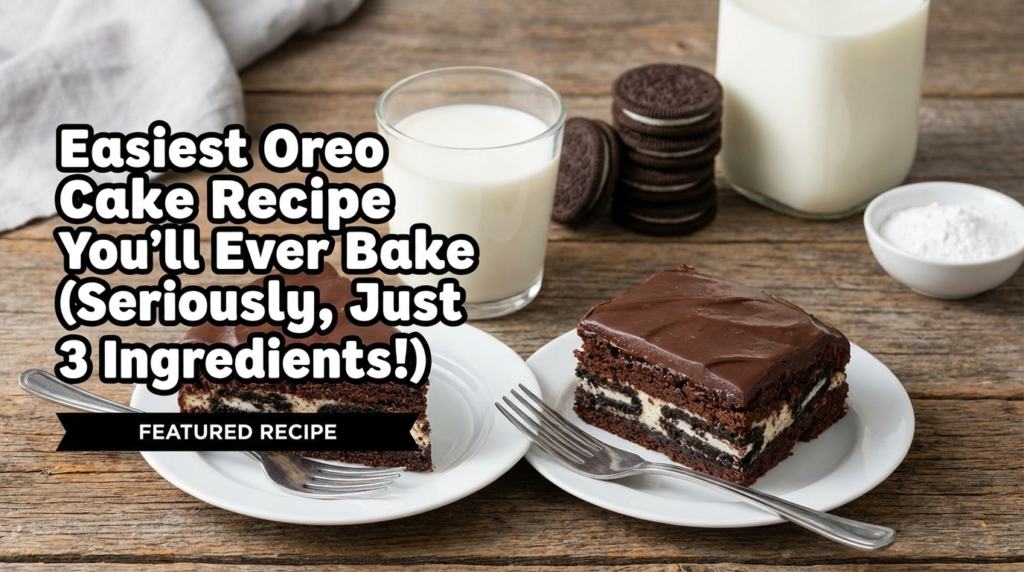
For those who love a bit of extra texture, try pulsing the blender instead of running it on high the whole time. This leaves larger chunks of cookies throughout the shake, giving you something to chew on. It creates a rustic, homemade feel that people really appreciate. If you enjoy this style of quick-assembly dessert, you will definitely want to try this Easiest Oreo Cake Recipe You’ll Ever Bake (Seriously, Just 3 Ingredients!). It uses the same core flavors but transforms them into a decadent cake.
Don’t forget the presentation. A milkshake is as much about the eyes as it is about the palate. I like to crush an extra cookie into fine dust and sprinkle it over the whipped cream. Adding a colorful straw or a drizzle of caramel can turn a simple snack into a celebration-worthy treat. It is all about those little touches that make your family feel special.
The Perfect 5 Minute Oreo Milkshake
Prep Time: 5 mins | Cook Time: 0 mins | Total Time: 5 mins | Servings: 2
Ingredients
- 3 cups high-quality vanilla bean ice cream
- 1/2 cup whole milk (adjust for desired thickness)
- 8 to 10 Oreo cookies, plus extra for garnish
- 1 teaspoon vanilla extract (optional, for extra depth)
- Whipped cream and chocolate syrup for serving
Instructions
- Place your serving glasses in the freezer to chill while you prepare the ingredients.
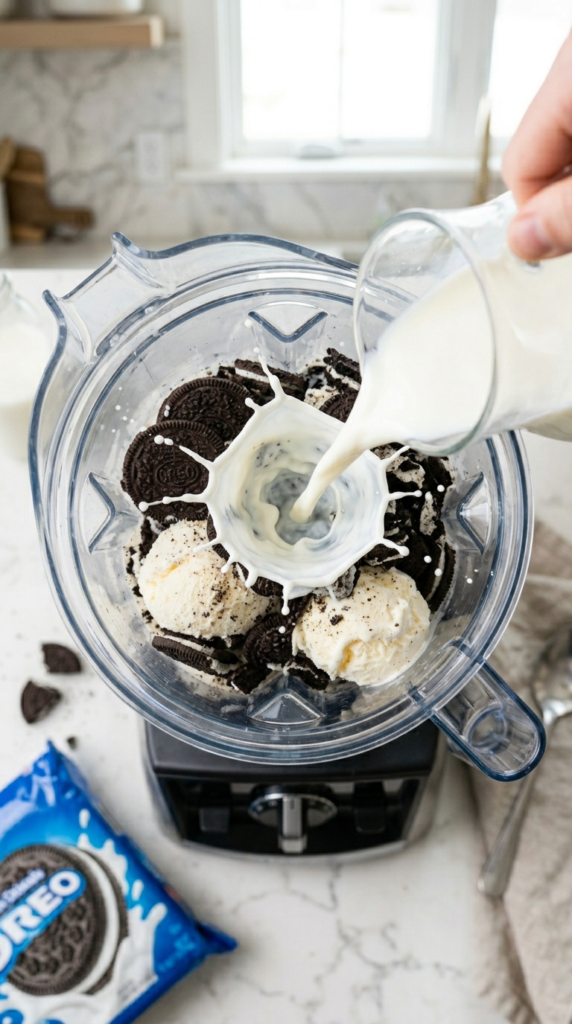
- In a high-powered blender, combine the vanilla ice cream, milk, and vanilla extract if using.
- Add 8 Oreo cookies to the blender. For more texture, break them in half by hand first.
- Pulse the blender 5-7 times for a chunky consistency, or blend on medium speed for 30 seconds for a completely smooth shake.
- Check the consistency. If it is too thick, add milk one tablespoon at a time. If it is too thin, add another scoop of ice cream and pulse again.
- Remove the chilled glasses from the freezer. Optional: Drizzle chocolate syrup down the inside walls of the glasses.
- Pour the milkshake into the glasses immediately.
- Top with a generous amount of whipped cream, crushed cookie bits, and one whole cookie on top. Serve with a wide straw.
Pro Tips
- Dairy-Free Option: Use oat milk and a coconut-based vanilla ice cream for a surprisingly delicious vegan alternative.
- Extra Richness: Replace the milk with heavy cream if you want an ultra-decadent dessert.
- Blender Order: Always put the liquid in first. This helps the blades move more freely and prevents “air pockets” around the ice cream.
Why This Recipe is a Family Favorite
In a world where everything seems to take forever, there is a certain joy in a recipe that delivers instant gratification. This Oreo milkshake has become a staple in my home because it is reliable. I know that no matter how busy the day has been, I can pull this together and see smiles all around the table. It is more than just a drink; it is a five-minute break from the chaos of daily life.
I have served this at birthday parties, movie nights, and even as a quick “cheer up” treat after a long day at school. The feedback is always the same: “How did you get it so thick?” Now you know the secret. It is all about the quality of the ice cream and the patience to blend it just right. I hope this recipe brings as much joy to your kitchen as it has to mine. If you enjoyed this, please consider saving it to your favorite Pinterest board so you can find it next time those cravings hit!
Did you try this recipe? I would love to see your creations! Tag me on social media or leave a comment below and let me know what toppings you chose. Don’t forget to pin this to your Quick Desserts or Kid-Friendly Recipes board for later!
More Oreo Recipes
For more cookies-and-cream treats, try thick Oreo milkshake, copycat-style Oreo milkshake, and no-bake Oreo desserts.