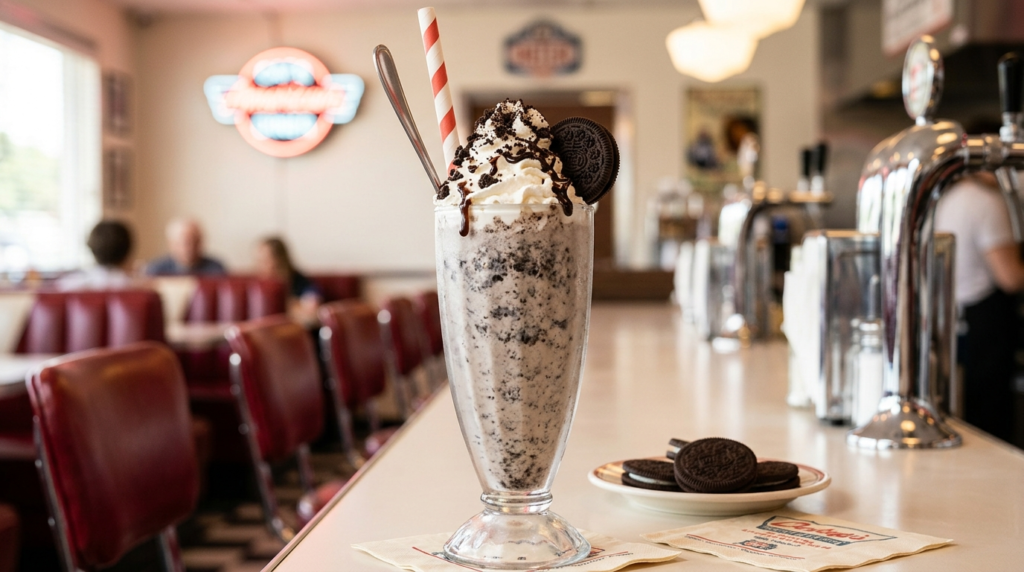
Thick, velvety, and loaded with double the cookies you expect.
There is something incredibly nostalgic about sitting in a vinyl booth at a classic diner, waiting for that tall, frosty stainless steel cup to arrive at the table. I remember the first time I realized that a great milkshake isn’t just blended ice cream; it is an art form. The way the straw struggles just a bit against the thick texture, the cold rush of vanilla, and the chocolatey crunch of a well-pulverized cookie—it’s pure childhood joy in a glass.
I spent years trying to recreate that exact experience in my own kitchen. For a long time, my shakes were either too runny, like flavored milk, or so thick they wouldn’t move at all. After dozens of batches and plenty of “research” taste tests, I finally cracked the code. This version is exactly what you crave when you want a treat that feels substantial and indulgent. Whether you are in a sunny Australian coastal town or a cozy kitchen in the UK, this recipe brings that authentic American diner vibe straight to your counter.
The Secret To Achieving That Classic Diner Texture
The biggest mistake most home cooks make is adding too much milk. In a professional diner, the ratio of ice cream to liquid is heavily skewed toward the frozen side. You want just enough milk to help the blender blades catch the ice cream, but not so much that you lose that stand-up texture. I always recommend starting with much less milk than you think you need. You can always add a splash more, but you can’t take it away once it is a soup.
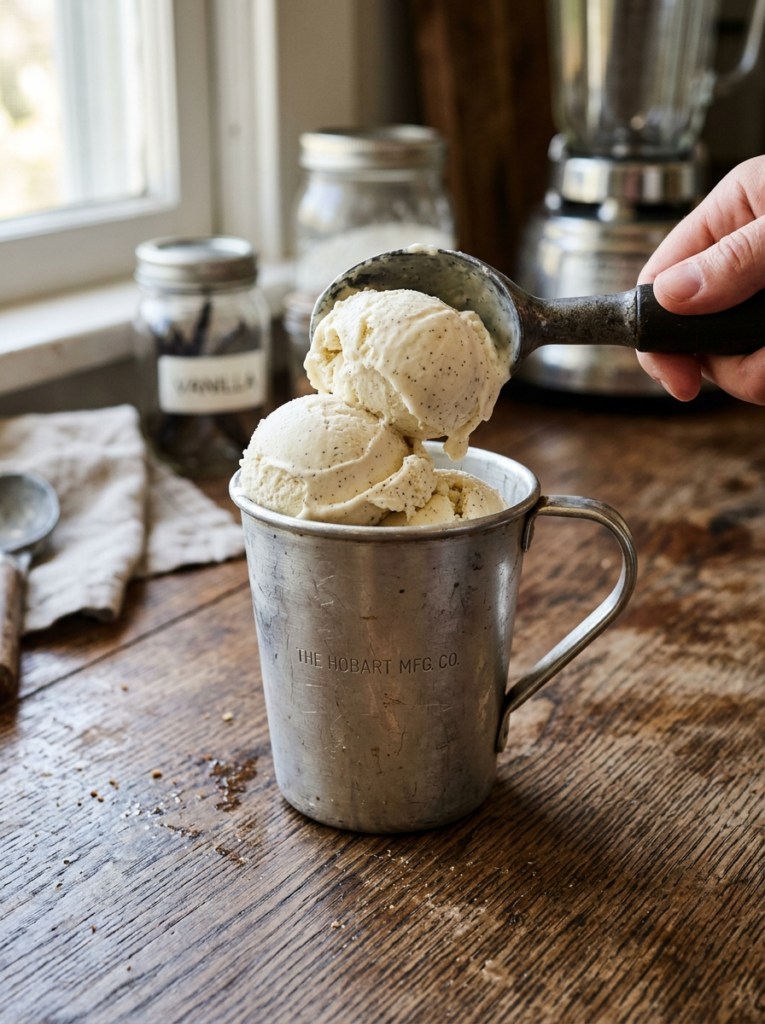
Temperature is your other secret weapon. If your ice cream is rock hard straight from the deep freeze, the blender will struggle, and you will be tempted to add more milk. I like to let my vanilla ice cream sit on the counter for about five minutes before scooping. This slight softening allows it to blend into a smooth, ribbon-like consistency without losing its structural integrity. If you enjoy experimenting with frozen treats, you might find this similar to the base techniques used in an Easy Homemade Ice Cream Recipe No Churn & Ice Cream Maker Methods.
Another tip I picked up from a local soda fountain owner is to chill your glassware. Putting your tall glasses in the freezer for fifteen minutes before serving prevents the shake from melting the second it hits the glass. It keeps that first sip just as cold as the last one.

Quality Ingredients Make All The Difference
Since this recipe only has a handful of components, each one needs to be the best you can find. I always reach for a premium, full-fat vanilla bean ice cream. The fat content is what provides that coating on the tongue and the rich flavor profile. Low-fat versions often contain more air and water, which results in a grainy, icy texture rather than a creamy one.
For the cookies, the classic Oreo is king, but do not be afraid to use the Double Stuf variety if you want an even creamier result. I have found that the creme filling in the middle acts as a stabilizer for the shake. If you are a fan of these flavors, you probably already love other No Bake Oreo Desserts Your Family Will Absolutely Rave About. Using fresh cookies ensures they still have that distinct cocoa crunch even after being pulsed in the blender.
When it comes to the milk, whole milk is the standard for a reason. It adds a silky mouthfeel that skim or 2% just can’t replicate. If you are in the UK or Australia, look for “full cream” milk to get that authentic richness. Some people like to add a splash of heavy cream or double cream for an over-the-top indulgence, and I certainly won’t stop you from making that choice.
How To Get The Perfect Cookie Crunch
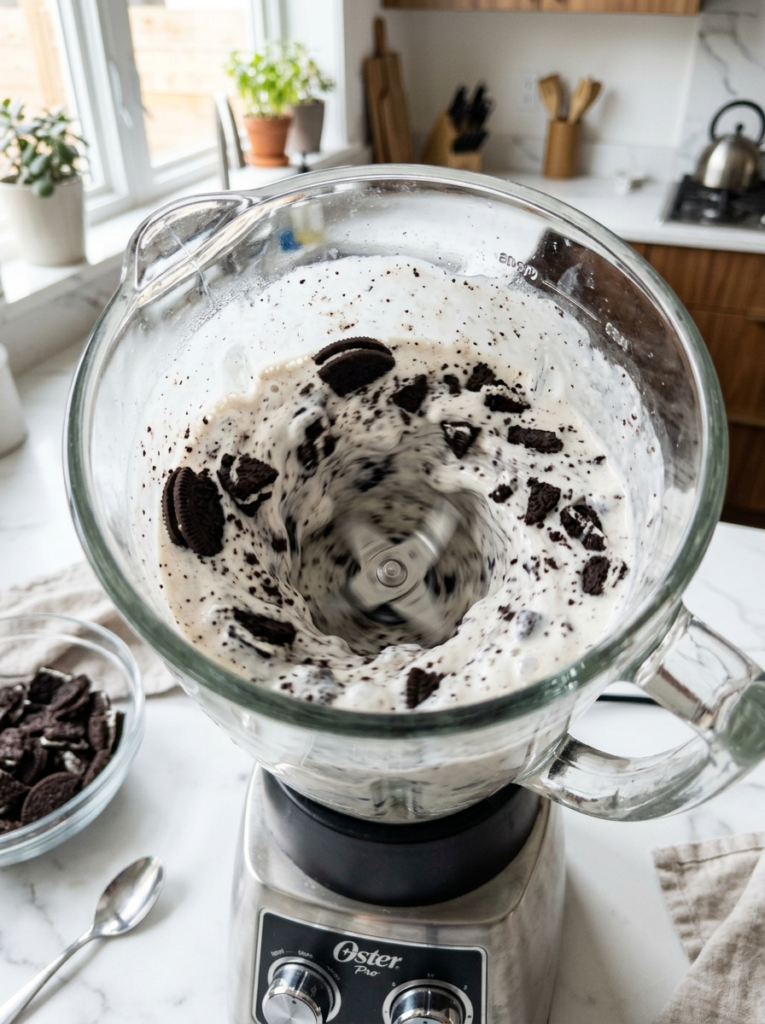
The timing of when you add your cookies is the difference between a grey-looking milkshake and a beautiful “cookies and cream” masterpiece. If you throw the cookies in at the same time as the ice cream and blend on high for a minute, you will end up with a uniform, dark grey liquid. While it tastes fine, it lacks the visual appeal and the textural contrast that makes a diner shake famous.
My method involves two stages. First, I blend the ice cream and milk until smooth. Then, I drop in the cookies and use the “pulse” setting on the blender. I only pulse about four or five times. This breaks the cookies into varying sizes—some tiny specks that flavor the base and some larger, pea-sized chunks that provide a satisfying bite through the straw. This technique is actually very similar to how I prepare the base for My Favorite Dirt Cake Recipe with Oreos, where texture is everything.
If you are using a particularly powerful high-speed blender, be very careful. Those machines can turn a cookie into dust in a split second. If you want total control, you can even crush the cookies in a plastic bag with a rolling pin and stir them in by hand at the very end.
Authentic Diner Style Oreo Milkshake Recipe
Prep Time: 5 Mins | Cook Time: 0 Mins | Total Time: 5 Mins | Servings: 1 large shake
Ingredients
- 3 large scoops (approx. 1.5 cups) premium vanilla bean ice cream
- 1/2 cup whole milk (add more only if needed)
- 5 Oreo cookies (plus 1 extra for garnish)
- 1 tablespoon chocolate syrup (optional for lining the glass)
- Whipped cream for topping
Instructions
- Place your serving glass in the freezer for at least 10 minutes before starting.
- In a blender, combine the softened vanilla ice cream and the whole milk.
- Blend on low to medium speed until the mixture is smooth and thick. Avoid over-blending as the heat from the motor can melt the ice cream.
- Add 5 Oreo cookies to the blender. Use the pulse setting 4-5 times until the cookies are broken into small chunks but not pulverized into a powder.
- Remove your chilled glass from the freezer. If desired, drizzle chocolate syrup along the inside walls of the glass.
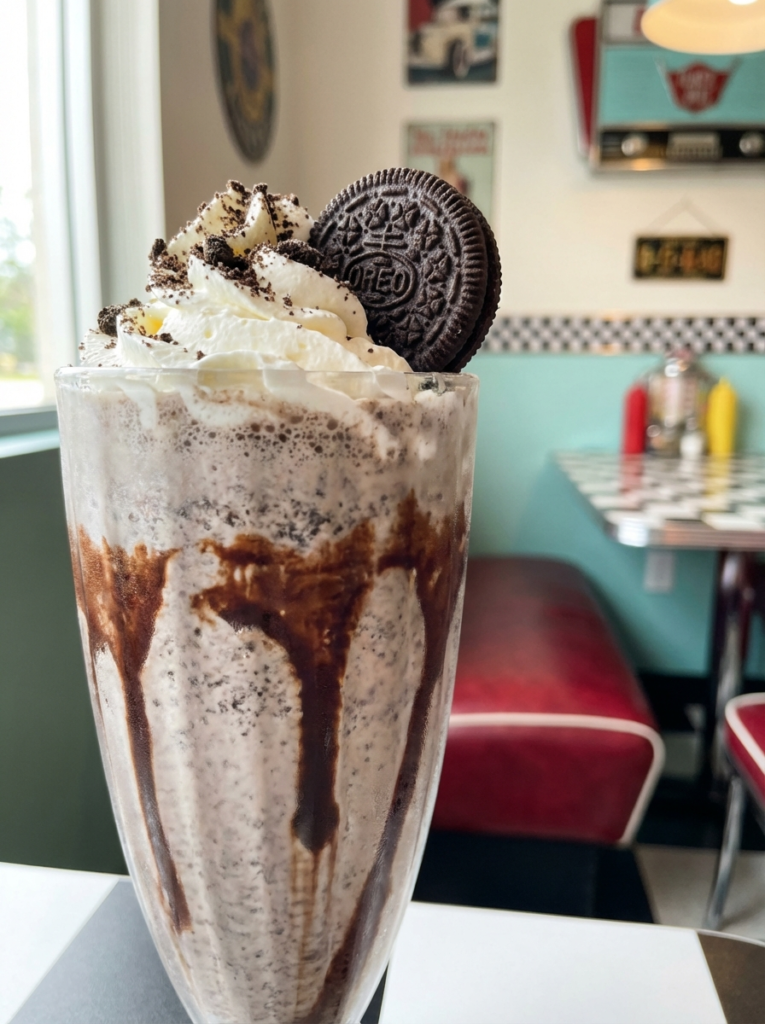
- Pour the milkshake into the glass. The consistency should be thick enough that it takes a moment to settle.
- Top with a generous amount of whipped cream and crumble the remaining cookie over the top. Serve immediately with a wide-diameter straw.
Pro Tips and Substitutions
- Make it Chocolatey: Substitute one scoop of vanilla ice cream for chocolate ice cream for a “Double Chocolate Oreo” experience.
- Dairy-Free: This works wonderfully with oat-based vanilla ice cream and full-fat oat milk.
- Boozy Version: For an adult treat, add 1 shot of vanilla vodka or Irish cream liqueur.
Why Homemade Is Always Better Than Fast Food
When you make this at home, you have total control over the sugar levels and the quality of the fats. Most fast-food chains use a “shake mix” that is shelf-stable and loaded with preservatives and artificial thickeners. By using real dairy and real cookies, you are creating a dessert that actually tastes like the ingredients listed on the package.
Beyond the flavor, there is the joy of customization. My kids love it when I add a tiny pinch of sea salt to the blender, which cuts through the sweetness and makes the chocolate flavor pop. My husband prefers his with a spoonful of malt powder to give it that “old school malt shop” tang. When you are the one behind the blender, you are the artist.
This recipe is also a fantastic way to cap off a family dinner or to serve at a weekend gathering. It feels like an event rather than just a quick snack. The look on someone’s face when you hand them a perfectly decorated, thick Oreo shake is worth the five minutes of effort every single time.
I hope you enjoy this thick and creamy treat as much as my family does. It truly is the ultimate comfort food for any season. If you tried this recipe and loved it, please make sure to save it to your “Dessert Recipes” board on Pinterest so you can find it whenever that craving hits! Don’t forget to leave a comment below and tell me—are you a “whipped cream” person or do you prefer your shake plain? Happy blending!
Related Oreo Milkshake Recipes
Try more creamy options: 5-minute Oreo milkshake, copycat-style Oreo milkshake, and thick no-blender Oreo milkshake.