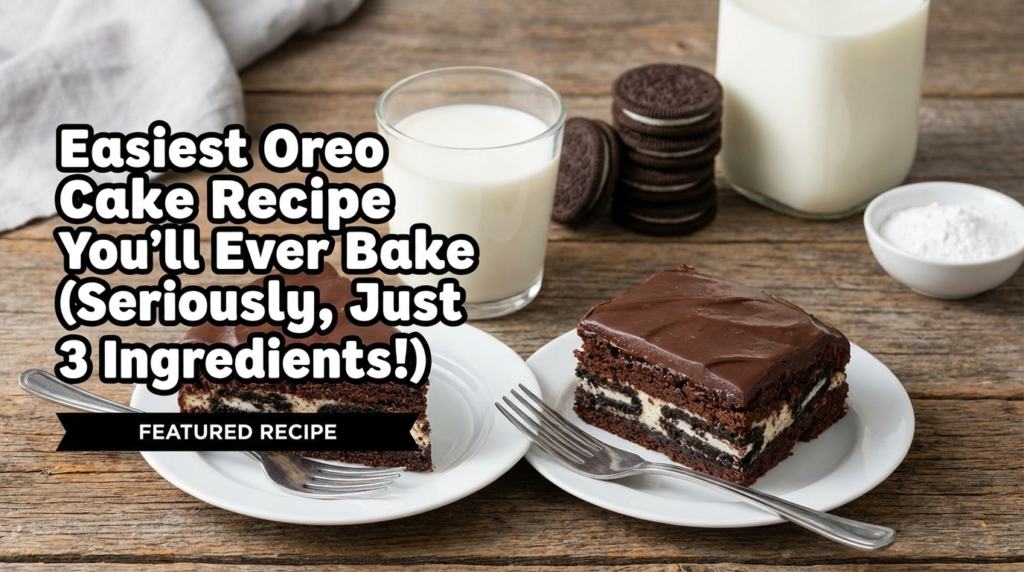
Your search for the perfect celebration cake ends here.
There are days when only a truly indulgent chocolate cake will do, but who has hours to spend in the kitchen? I know I don’t, especially when a sudden craving hits or a last-minute gathering pops up. That’s why I perfected this incredibly moist and easy Oreo Cake recipe. It’s the kind of cake that looks like you spent all day on it, but comes together with surprising ease, delivering pure chocolate bliss with every bite – complete with crunchy Oreo goodness.
This recipe solves the dilemma of wanting a show-stopping dessert without the fuss, making it perfect for weeknight treats or special occasions. It’s a dependable go-to that I reach for time and time again, and I can’t wait for you to try it.
Why You Will Love This Oreo Cake Recipe
From the first crumbly bite to the last, this cake is pure joy. It’s not just about the chocolate and Oreos; it’s about the whole experience. This particular Oreo cake recipe consistently delivers a tender, moist crumb that everyone raves about.
- Seriously Moist: Forget dry cake! My method ensures a rich, tender texture that melts in your mouth.
- Easy to Make: No fancy techniques or equipment needed. If you can mix, you can make this cake.
- Crowd Pleaser: Who doesn’t love chocolate and Oreos? This cake is a guaranteed hit for birthdays, potlucks, or just because.
- Make Ahead Friendly: You can bake the layers ahead of time, making party prep a breeze.
- Pure Indulgence: It’s decadent, creamy, and crunchy all at once.
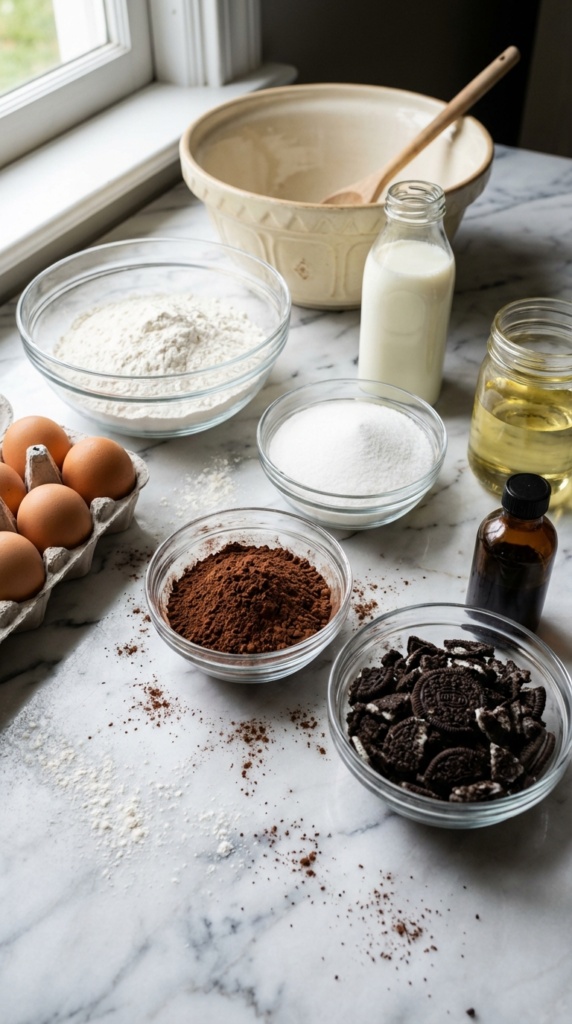
Ingredients You Need
You’ll find that most of these ingredients are likely already in your pantry. I always use good quality cocoa powder for a deep chocolate flavor, and don’t skimp on the Oreos – they’re the star here!
For the Cake:
- All-purpose flour
- Granulated sugar
- Unsweetened cocoa powder (Dutch-processed for darker color and richer flavor)
- Baking soda
- Baking powder
- Salt
- Eggs (large)
- Whole milk or buttermilk (buttermilk adds extra tenderness!)
- Vegetable oil or canola oil
- Vanilla extract (pure, not imitation)
- Hot water or freshly brewed hot coffee (coffee enhances chocolate flavor without making it taste like coffee)
- Crushed Oreo cookies (about 1 cup, finely crushed)
For the Oreo Buttercream Frosting:
- Unsalted butter, softened
- Powdered sugar (confectioners’ sugar)
- Heavy cream or whole milk
- Vanilla extract
- Finely crushed Oreo cookies (about 1/2 cup, extra fine)
- Whole Oreos or roughly chopped Oreos for garnish
How To Make It
Making this cake is straightforward, but a few simple steps ensure perfect results every time. Follow along, and you’ll have a stunning cake ready to impress.
- Prep Your Pans: Preheat your oven to 350°F (175°C). Grease and flour two 8 or 9-inch round cake pans. For easier removal, I like to line the bottoms with parchment paper.
- Combine Dry Ingredients: In a large bowl, whisk together the flour, sugar, cocoa powder, baking soda, baking powder, and salt. Make sure there are no lumps.
- Add Wet Ingredients: In a separate medium bowl, whisk together the eggs, milk, oil, and vanilla extract until well combined.
- Mix Them Together: Pour the wet ingredients into the dry ingredients. Mix on low speed with an electric mixer, or by hand, until just combined. Don’t overmix!
- Stir in Hot Liquid: Carefully add the hot water (or coffee) to the batter and mix until smooth. The batter will be thin, and that’s exactly how we want it for a moist cake. Gently fold in the finely crushed Oreo cookies.
- Bake: Divide the batter evenly between the prepared cake pans. Bake for 30-35 minutes, or until a wooden skewer inserted into the center comes out clean.
- Cool: Let the cakes cool in the pans for 10-15 minutes before inverting them onto a wire rack to cool completely. This is crucial before frosting!
- Make the Buttercream: While the cakes cool, beat the softened butter in a large bowl until creamy. Gradually add the powdered sugar, alternating with heavy cream, until light and fluffy. Beat in the vanilla extract. Stir in the finely crushed Oreos.
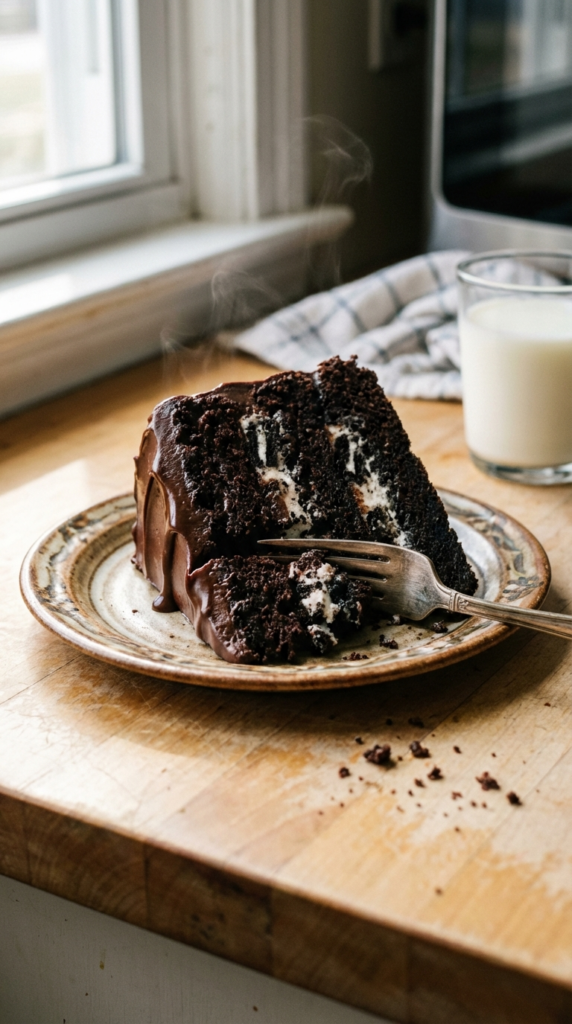
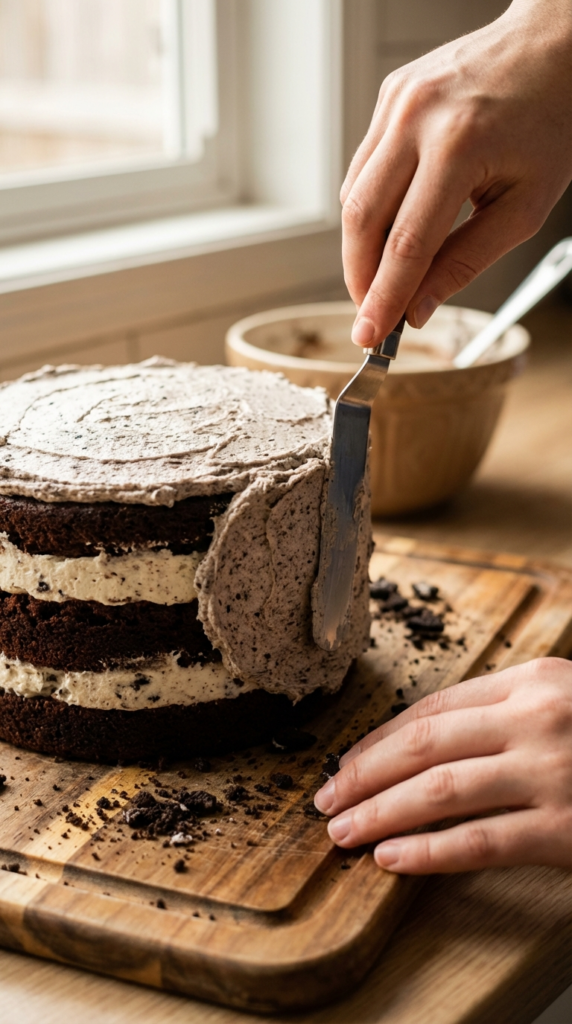
- Assemble and Frost: Once the cakes are completely cool, place one layer on your serving plate. Spread about a third of the Oreo buttercream over the top. Place the second cake layer on top and cover the entire cake with the remaining frosting. Garnish with whole or roughly chopped Oreos.
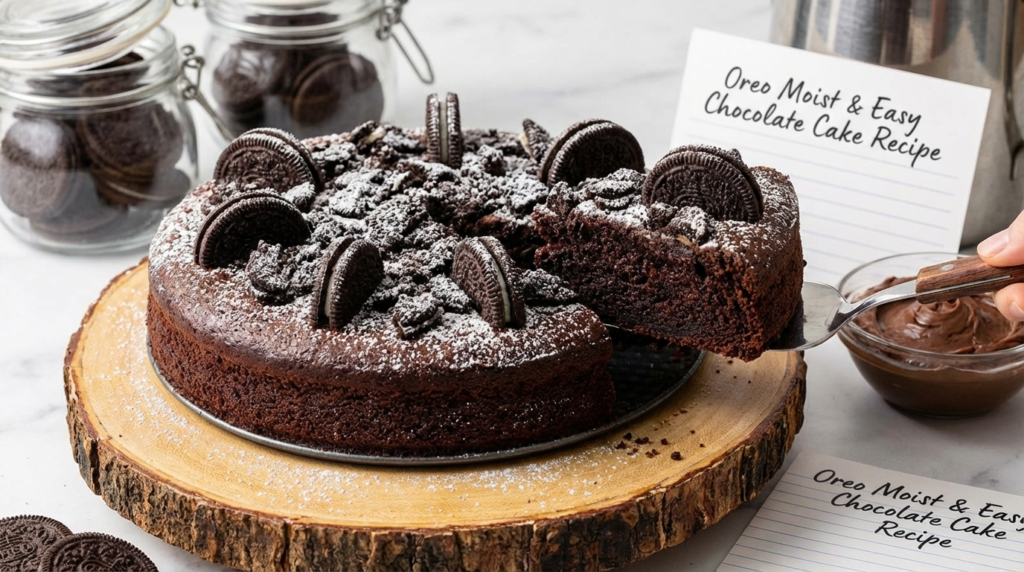
Oreo Cake Recipe (Moist & Easy Chocolate Cake)
Prep Time: 25 minutes
Cook Time: 30-35 minutes
Total Time: 1 hour 30 minutes (including cooling)
Servings: 12
Ingredients
- 2 cups (240g) all-purpose flour
- 2 cups (400g) granulated sugar
- ¾ cup (75g) unsweetened cocoa powder (Dutch-processed)
- 2 teaspoons baking soda
- 1 teaspoon baking powder
- 1 teaspoon salt
- 2 large eggs
- 1 cup (240ml) whole milk or buttermilk
- ½ cup (120ml) vegetable oil
- 2 teaspoons vanilla extract
- 1 cup (240ml) hot water or hot brewed coffee
- 1 cup (approx. 10-12 cookies) finely crushed Oreo cookies, for cake batter
- For the Oreo Buttercream:
- 1 cup (226g) unsalted butter, softened
- 3-4 cups (360-480g) powdered sugar, sifted
- ¼ cup (60ml) heavy cream or whole milk
- 1 teaspoon vanilla extract
- ½ cup (approx. 5-6 cookies) finely crushed Oreo cookies, for frosting
- Whole or roughly chopped Oreos, for garnish
Instructions
- Preheat oven to 350°F (175°C). Grease and flour two 8 or 9-inch round cake pans. Line bottoms with parchment paper if desired.
- In a large bowl, whisk together flour, sugar, cocoa powder, baking soda, baking powder, and salt.
- In a separate medium bowl, whisk together eggs, milk, oil, and vanilla extract.
- Pour wet ingredients into dry ingredients. Mix on low speed with an electric mixer or by hand until just combined. Do not overmix.
- Carefully add the hot water or coffee to the batter and mix until smooth. The batter will be thin. Gently fold in the 1 cup of finely crushed Oreo cookies.
- Divide batter evenly between prepared cake pans. Bake for 30-35 minutes, or until a wooden skewer inserted into the center comes out clean.
- Cool cakes in pans for 10-15 minutes, then invert onto a wire rack to cool completely before frosting.
- For the Oreo Buttercream: In a large bowl, beat softened butter until creamy. Gradually add powdered sugar, alternating with heavy cream, until light and fluffy. Beat in vanilla extract. Stir in the ½ cup of finely crushed Oreo cookies.
- Assemble: Once cakes are completely cool, place one layer on your serving plate. Spread about a third of the Oreo buttercream over the top. Place the second cake layer on top and cover the entire cake with the remaining frosting. Garnish with whole or roughly chopped Oreos.
- Serve and enjoy!
My Kitchen Tips
After baking countless cakes, I’ve picked up a few tricks that make a real difference. These simple tips will ensure your easy Oreo cake turns out perfectly every single time.
- Don’t Overmix: This is probably the most important tip for any cake! Overmixing develops gluten, leading to a tough, dry cake. Mix until just combined.
- Room Temperature Ingredients: Eggs, milk, and butter for the frosting should all be at room temperature. This helps them emulsify better, creating a smoother batter and fluffier frosting.
- Hot Coffee is Key: Even if you don’t like coffee, use it! It deepens the chocolate flavor without adding a coffee taste. If you prefer, hot water works too.
- Crush Oreos Finely: For the cake batter, finely crushed Oreos distribute evenly and add moisture. For the frosting, very fine crumbs ensure a smooth texture. A food processor makes quick work of this!
- Cool Completely: Frosting a warm cake is a recipe for disaster (and a melted mess!). Be patient and let your cake layers cool completely.
- For a Darker Frosting: If you want a darker, more intense chocolate frosting, you can replace a tablespoon or two of powdered sugar with unsweetened cocoa powder when making the buttercream.
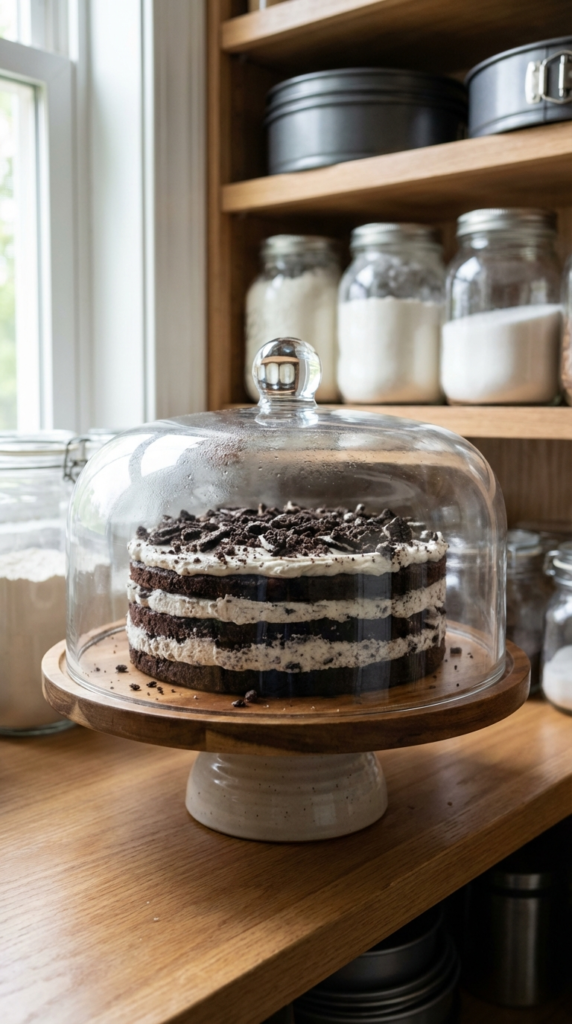
Storage and Make Ahead
One of the best things about this moist Oreo cake recipe is how well it stores, making it perfect for planning ahead or enjoying leftovers!
- At Room Temperature: This cake can be stored in an airtight container at room temperature for up to 2-3 days. Make sure it’s covered to prevent it from drying out.
- In the Refrigerator: For longer storage, keep it in an airtight container in the refrigerator for up to 5 days. Bring to room temperature for about 30 minutes before serving for the best texture.
- Freezing Cake Layers: You can bake the cake layers ahead of time and freeze them. Once cooled completely, wrap each layer tightly in plastic wrap, then in foil. Freeze for up to 2 months. Thaw in the refrigerator overnight before frosting.
- Freezing Frosted Cake: A frosted cake can also be frozen! Flash freeze it uncovered for an hour until the frosting is firm, then wrap tightly in plastic wrap and foil. Thaw in the refrigerator overnight.
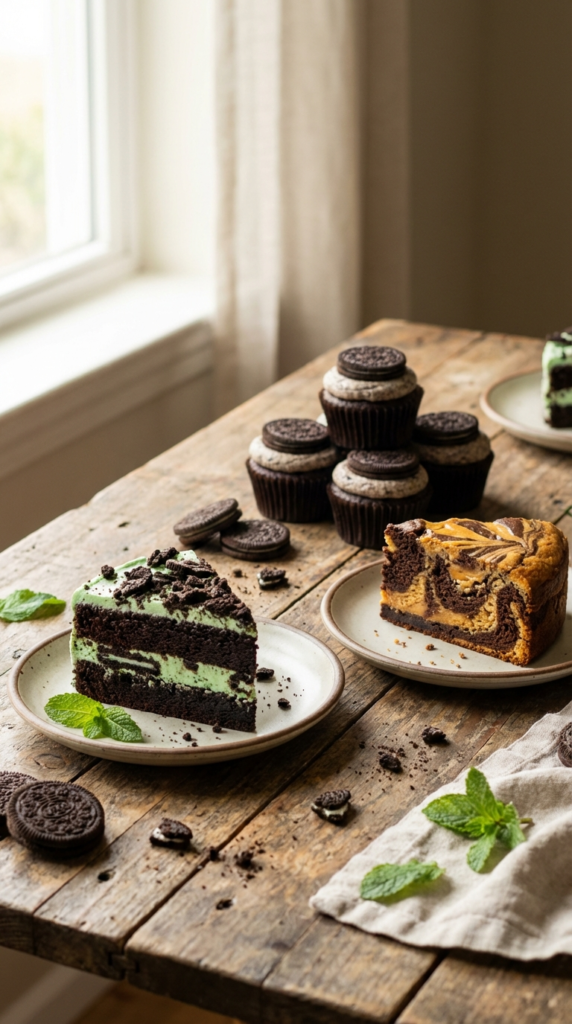
Variations
While this Oreo cake recipe is fantastic as is, don’t be afraid to experiment! A great recipe is also a starting point for your own kitchen adventures. Here are a few ideas to get you started:
- Mint Oreo: Add a teaspoon of peppermint extract to the cake batter and/or frosting for a refreshing twist. Use mint Oreos if you can find them!
- Peanut Butter Swirl: Swirl in some melted peanut butter into the cake batter before baking, or add a dollop to the frosting.
- Chocolate Chip Oreo: Fold a handful of mini chocolate chips into the batter along with the crushed Oreos for extra chocolatey goodness.
- Cream Cheese Frosting: If you prefer a less sweet frosting, a classic cream cheese frosting pairs beautifully with this rich chocolate cake.
- Cupcakes: Turn this recipe into delicious Oreo cupcakes! Reduce baking time to 18-22 minutes for standard-sized cupcakes.
I hope you’re feeling inspired to whip up this incredible Oreo cake recipe. It truly is a delight to bake and an even bigger delight to eat. The combination of moist chocolate cake and creamy Oreo frosting is simply irresistible, and it’s become a trusted favorite in my kitchen.
Give it a try this week, and let me know how it turns out! Don’t forget to save this recipe for later or share it with a friend who needs a little chocolatey joy in their life. Happy baking!