Seriously, this is the pound cake you’ve been dreaming of.
Oh, that moment when a craving hits for something truly comforting, something that tastes like a hug from grandma’s kitchen. I know it well. Too often, homemade pound cakes can turn out dry or crumbly, a real disappointment after all that effort. But trust me, this Cream Cheese Pound Cake Recipe is different.
It’s my absolute go-to for a consistently moist, rich, and perfectly dense cake that will wow everyone, every single time. It’s the kind of reliable recipe you’ll reach for again and again.
Why You Will Love This Cream Cheese Pound Cake?
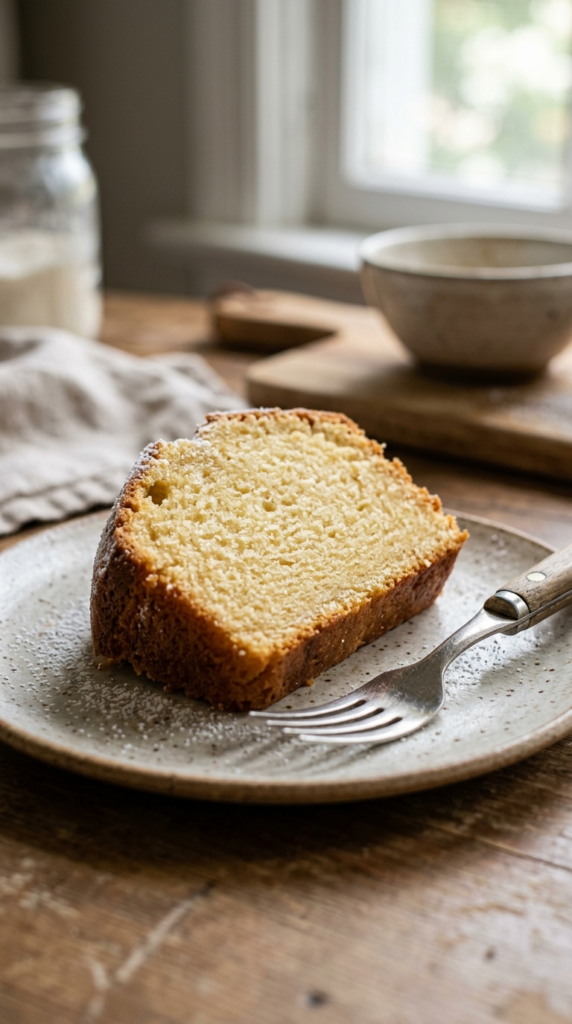
If you’ve ever struggled to get that signature tender crumb in a pound cake, this recipe is your solution. The secret really lies in the cream cheese, which adds an incredible richness and moisture that simply can’t be beaten. It’s not just a classic; it’s a revelation.
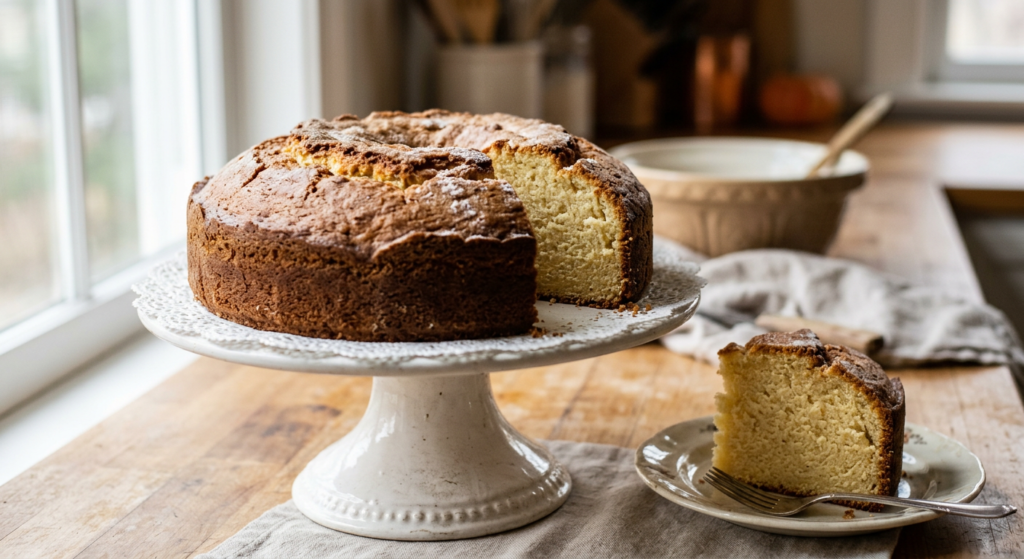
I’ve tested this Cream Cheese Pound Cake recipe countless times, tweaking it until it was absolutely perfect. It bakes up with a beautiful golden crust and that iconic crack down the middle. This cake is simple enough for a casual family dessert but elegant enough for a special occasion.

Ingredients You Need
The beauty of a great pound cake is its simple ingredient list. Quality matters here, so use good butter and full-fat cream cheese for the best results.
- Unsalted Butter: Room temperature is non-negotiable for that creamy texture.
- Cream Cheese: Also at room temperature. This is the star for moisture and tang.
- Granulated Sugar: Sweetness and helps create that tender crumb.
- Large Eggs: Room temperature, providing structure and richness.
- All Purpose Flour: Properly measured!
- Baking Powder: Just a touch for a little lift, but still dense.
- Salt: Balances the sweetness and enhances flavors.
- Vanilla Extract: Use a good quality one; it makes a difference.

How To Make It?
Making this classic pound cake is surprisingly straightforward, but patience and proper technique are key. Follow these steps for success.
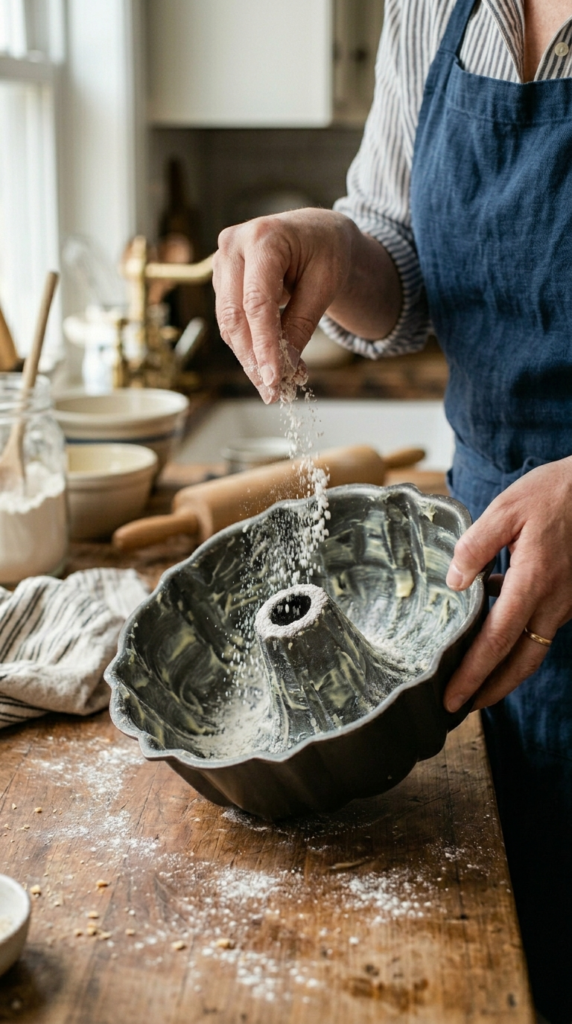
1. Prep Your Pan: Grease and flour a 10-cup Bundt pan or a 9×5 inch loaf pan thoroughly. This step is crucial for an easy release. I also like to line the bottom with parchment if using a loaf pan.
2. Cream Butter and Cream Cheese: In a large bowl, cream together the softened butter and cream cheese until light and fluffy. This can take about 5-7 minutes with an electric mixer. Scrape down the bowl often.
3. Add Sugar: Gradually add the granulated sugar, beating until the mixture is pale and very fluffy, about 5 more minutes. This incorporates air, which helps with the cake’s texture.
4. Incorporate Eggs: Add the eggs one at a time, beating well after each addition until fully incorporated. Don’t rush this part.
5. Dry Ingredients: In a separate bowl, whisk together the flour, baking powder, and salt.
6. Combine: Gradually add the dry ingredients to the wet mixture, mixing on low speed until just combined. Be careful not to overmix! Overmixing develops gluten too much, leading to a tough cake.
7. Vanilla: Stir in the vanilla extract.
8. Bake: Pour the batter into your prepared pan and smooth the top. Bake in a preheated oven (check recipe card for temperature) until a wooden skewer inserted into the center comes out clean.
9. Cool: Let the cake cool in the pan on a wire rack for 15-20 minutes before inverting it onto the rack to cool completely.
Cream Cheese Pound Cake Recipe
Prep Time: 25 minutes
Cook Time: 60-75 minutes
Total Time: 1 hour 25 minutes – 1 hour 40 minutes
Servings: 10-12
Ingredients
- 1 cup (2 sticks) unsalted butter, softened to room temperature
- 8 ounces (1 block) full-fat cream cheese, softened to room temperature
- 3 cups granulated sugar
- 6 large eggs, room temperature
- 3 cups all-purpose flour, sifted
- 1/2 teaspoon baking powder
- 1/2 teaspoon salt
- 2 teaspoons pure vanilla extract
Instructions
- Preheat oven to 325°F (160°C). Grease and flour a 10-cup Bundt pan or a 9×5 inch loaf pan. Make sure every crevice is covered to prevent sticking.
- In a large mixing bowl, using an electric mixer, cream together the softened butter and cream cheese on medium-high speed until light and fluffy, about 5-7 minutes. Scrape down the sides of the bowl as needed.
- Gradually add the granulated sugar, about 1/2 cup at a time, beating well after each addition. Continue beating for another 5 minutes until the mixture is very pale and fluffy.
- Add the eggs one at a time, beating well after each addition. Beat just until the yolk disappears before adding the next egg.
- In a separate medium bowl, whisk together the sifted all-purpose flour, baking powder, and salt.
- With the mixer on low speed, gradually add the dry ingredients to the wet ingredients, mixing until just combined. Do not overmix; stop as soon as no streaks of flour remain.
- Stir in the vanilla extract by hand.
- Pour the batter evenly into the prepared pan and gently smooth the top with a spatula.
- Bake for 60-75 minutes, or until a wooden skewer or toothpick inserted into the center of the cake comes out clean. Baking time can vary based on your oven and pan type.
- Allow the pound cake to cool in the pan on a wire rack for 15-20 minutes.
- Carefully invert the cake onto the wire rack to cool completely before slicing and serving.

My Kitchen Tips
After years of baking, I’ve gathered a few tricks that make all the difference for this recipe.
Room Temperature is Key: I cannot stress this enough. Butter, cream cheese, and eggs need to be properly at room temperature. This ensures they emulsify correctly, creating a smooth batter that traps air for a lighter, more tender crumb.
Measure Flour Correctly: Spoon your flour into the measuring cup, then level it off with a straight edge. Don’t scoop directly from the bag, as this compacts the flour and you’ll end up with too much, resulting in a dry cake.
Don’t Overmix: Once you add the dry ingredients, mix only until just combined. Overmixing develops gluten, which makes your pound cake tough and chewy instead of tender.
Pan Prep: Take your time properly greasing and flouring your baking pan preparation. Use softened butter or non-stick spray with flour. For intricate Bundt pans, I often use a pastry brush to ensure every detail is coated.
Cool Completely: Resist the urge to slice into your warm cake! It needs time to set and firm up. Cooling completely on a wire rack prevents it from crumbling.
Storage and Make Ahead
This Cream Cheese Pound Cake is fantastic for making ahead, which makes it perfect for entertaining or enjoying throughout the week.
At Room Temperature: Store leftover pound cake wrapped tightly in plastic wrap or in an airtight container at room temperature for up to 3-4 days. It actually tastes even better the next day as the flavors meld.
In the Refrigerator: If you want to extend its life, you can refrigerate it for up to a week. Just make sure it’s well-wrapped to prevent it from drying out or absorbing fridge odors.
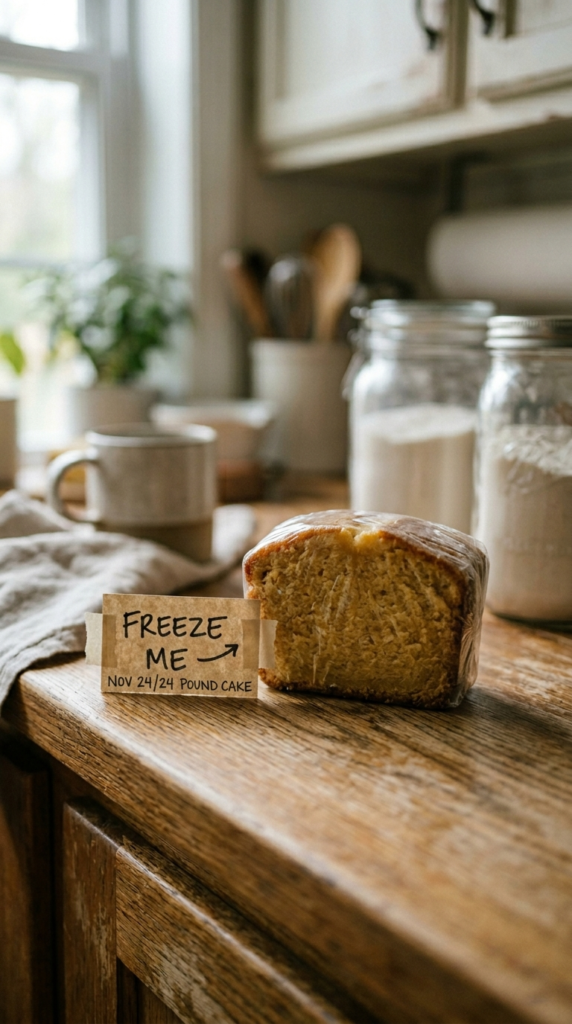
Freezing: Pound cake freezes beautifully! Wrap individual slices or the whole cake tightly in plastic wrap, then a layer of aluminum foil. It will keep in the freezer for up to 2-3 months. Thaw at room temperature before serving.
Variations
While this pound cake is perfect as is, it’s also a great canvas for creative additions!
Citrus Zest: Add the zest of one lemon, orange, or lime to the batter for a bright, fresh flavor.
Almond Extract: Swap half of the vanilla extract for almond extract for a classic, subtle almond flavor.
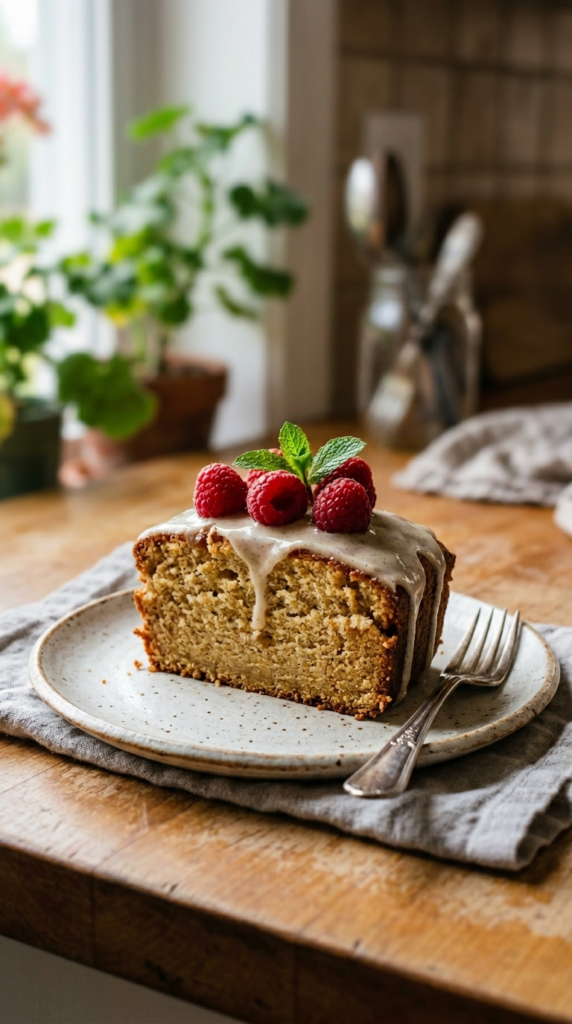
Glaze It: A simple powdered sugar glaze or a cream cheese glaze elevates this cake. I love drizzling it with my favorite vanilla bean glaze for extra decadence.
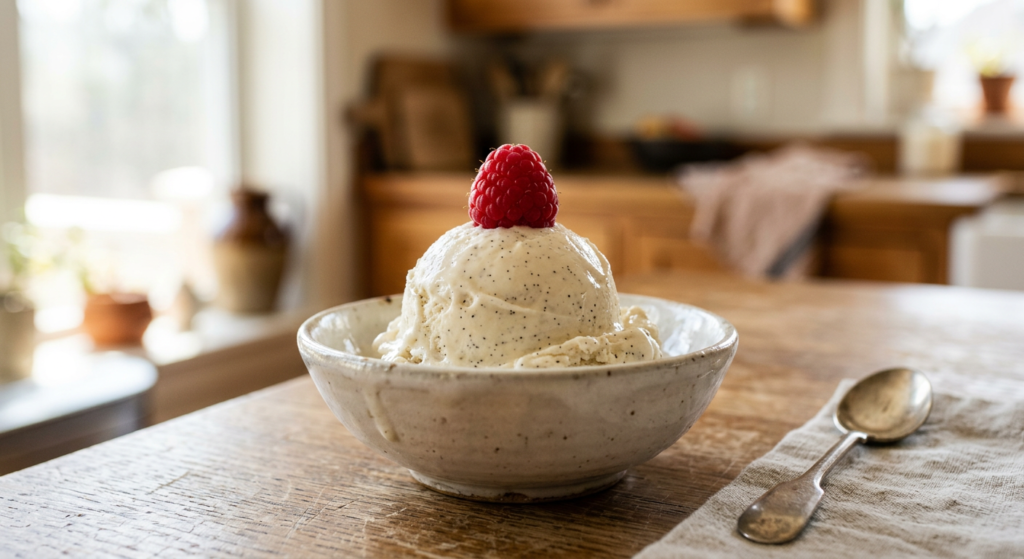
Berries: Serve slices with fresh berries (strawberries, raspberries, blueberries) and a dollop of whipped cream for a delightful dessert.
Chocolate Chip: Fold in 1 cup of mini chocolate chips at the very end of mixing the batter for a delightful surprise.
There’s truly nothing quite like a homemade pound cake, and this Cream Cheese Pound Cake recipe delivers on all fronts. It’s rich, moist, and imbued with that comforting, classic flavor everyone adores. Once you try it, you’ll understand why it’s a staple in my kitchen.
So, gather your ingredients and set aside an afternoon for a truly rewarding baking experience. I promise, the smiles and compliments you’ll receive will be worth every moment. Happy baking! Don’t forget to save this recipe for later on Pinterest and share it with a friend who loves classic desserts!