Ditch the store bought tubs! Your homemade ice cream journey starts here.
There’s nothing quite like that first spoonful of homemade ice cream, perfectly creamy and bursting with fresh flavor. I remember those hot summer afternoons, craving something truly special, only to be disappointed by store-bought options that never quite hit the spot. That’s why I dove headfirst into perfecting my own, and discovered that making it at home is surprisingly simple, deeply satisfying, and completely customizable.
My easy ice cream maker recipes are designed to deliver that dream dessert without any fuss, turning everyday ingredients into pure magic. Say goodbye to artificial flavors and hello to a freezer full of deliciousness!
Why You Will Love These Easy Ice Cream Maker Recipes
If you’ve been on the fence about getting an ice cream maker, or yours is gathering dust, these recipes are your invitation to bring it back to life. I’ve refined these over countless batches, ensuring they are truly fool-proof.
You’ll love the control you have over the ingredients, choosing high-quality milk, cream, and natural flavorings. Plus, the fresh taste is incomparable to anything you can buy in a carton. It’s a fun activity too, especially if you have little helpers in the kitchen!
Simple Ingredients You Need For Homemade Ice Cream
One of the best parts about making your own ice cream is how few ingredients you actually need for a truly spectacular result. The base for most creamy ice cream flavors is surprisingly simple.
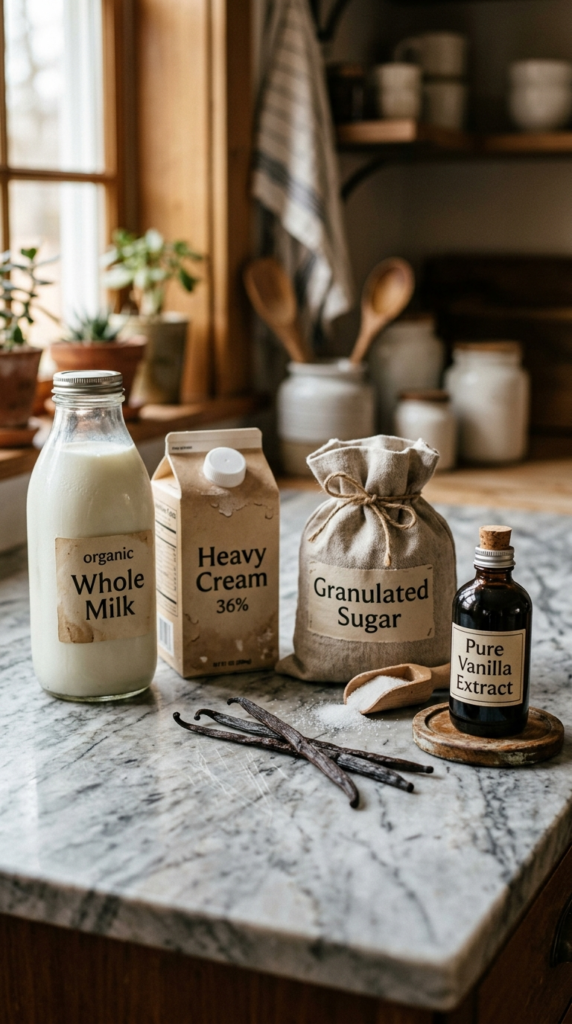
You’ll generally need heavy cream, whole milk, granulated sugar, and a flavoring element like vanilla extract or fresh vanilla beans. For the best flavor and texture, I always recommend using full-fat dairy products.
How To Make The Best Ice Cream at Home?
Creating your own creamy homemade ice cream is a straightforward process once you know the steps. The key is patience, especially during the chilling phase, which makes all the difference in the final texture.
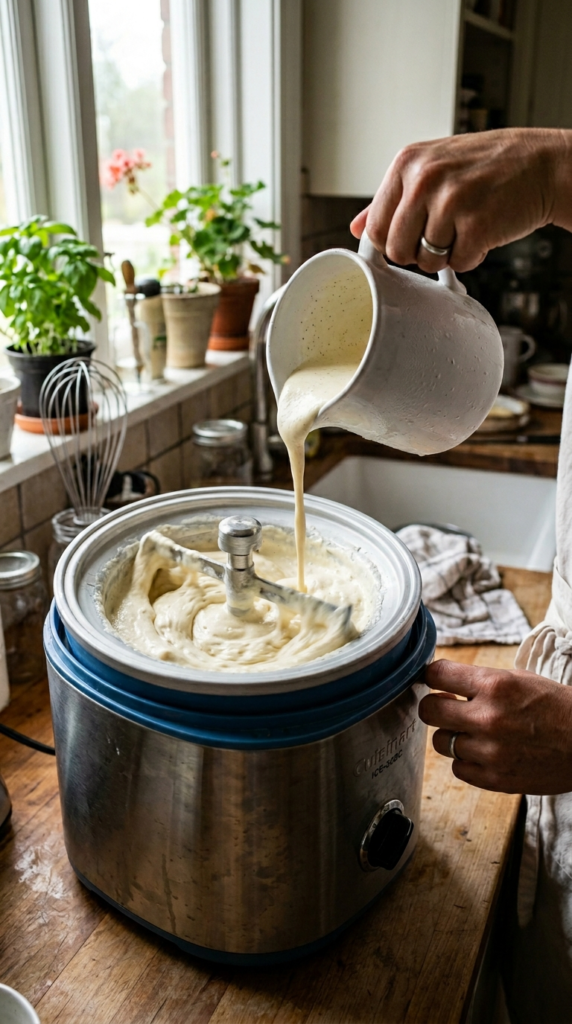
First, you’ll whisk together your ingredients to create the ice cream base. Then, this base needs to be thoroughly chilled – ideally for at least 4 hours, or even overnight. This step is non-negotiable for the creamiest results. Once chilled, pour the mixture into your ice cream maker and churn according to the manufacturer’s instructions, typically for 20-30 minutes, until it reaches the consistency of soft-serve. Finally, transfer it to an airtight container and freeze for a few hours to firm up. That’s it!
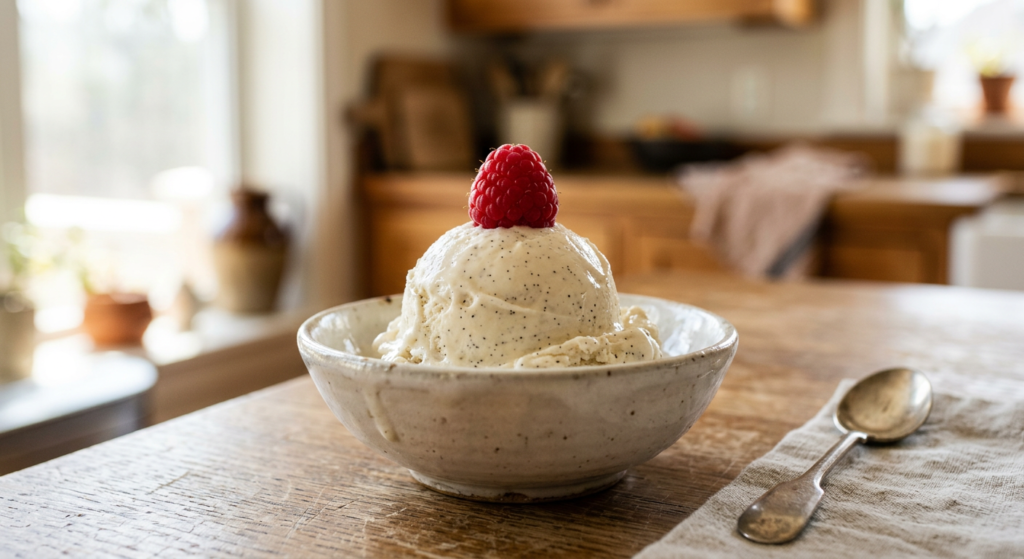
Classic Vanilla Bean Ice Cream
Prep Time: 15 minutes (+ 4 hours chill time)
Cook Time: 20-25 minutes
Total Time: ~40 minutes (+ 4 hours freeze time)
Servings: 6-8
Ingredients
- 2 cups (480ml) heavy cream
- 1 cup (240ml) whole milk
- ¾ cup (150g) granulated sugar
- 1 vanilla bean, split and scraped (or 1 ½ tsp pure vanilla extract)
- Pinch of salt
Instructions
- In a large bowl, whisk together the heavy cream, whole milk, granulated sugar, vanilla bean seeds (and pod if using), and a pinch of salt until the sugar is fully dissolved. If using vanilla extract, add it now.
- Cover the bowl and refrigerate the mixture for at least 4 hours, or preferably overnight, until thoroughly chilled. This is crucial for optimal texture.
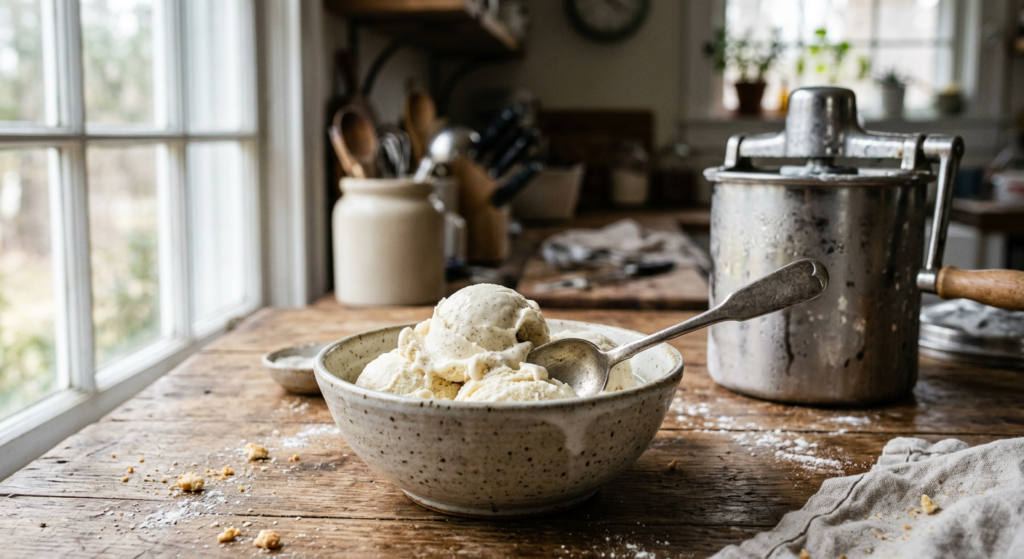
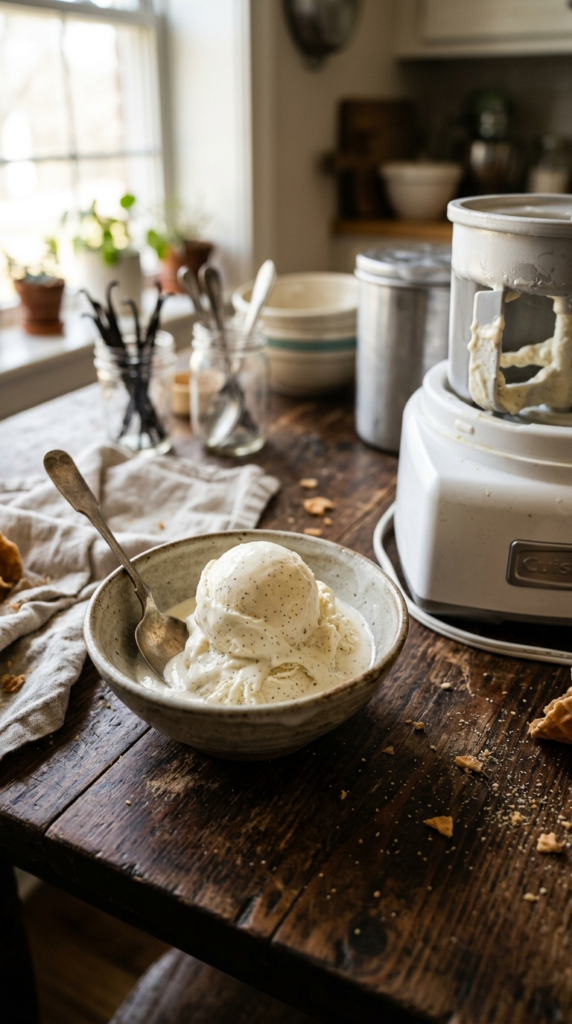
- Once chilled, remove the vanilla bean pod if you used it. Pour the mixture into your ice cream maker’s freezer bowl and churn according to the manufacturer’s instructions. This usually takes 20-25 minutes, until the ice cream is thick and resembles soft-serve.
- Transfer the soft ice cream to an airtight container. Press a piece of parchment paper directly onto the surface of the ice cream to prevent ice crystals from forming.
- Cover and freeze for at least 4 hours, or until firm enough to scoop. Enjoy your incredible homemade vanilla bean ice cream!

My Kitchen Tips for Perfect Homemade Ice Cream
Through years of churning, I’ve picked up a few tricks that make all the difference. Always ensure your ice cream maker’s bowl is completely frozen, typically 12-24 hours beforehand.
Don’t overfill the machine; the mixture will expand as it churns. For an even richer flavor, sometimes I’ll make a batch of my easy homemade caramel sauce to swirl in at the end of churning, it’s a game-changer! And when freezing the churned ice cream, transfer it quickly to minimize melting, which can lead to larger ice crystals.
Storage and Make Ahead
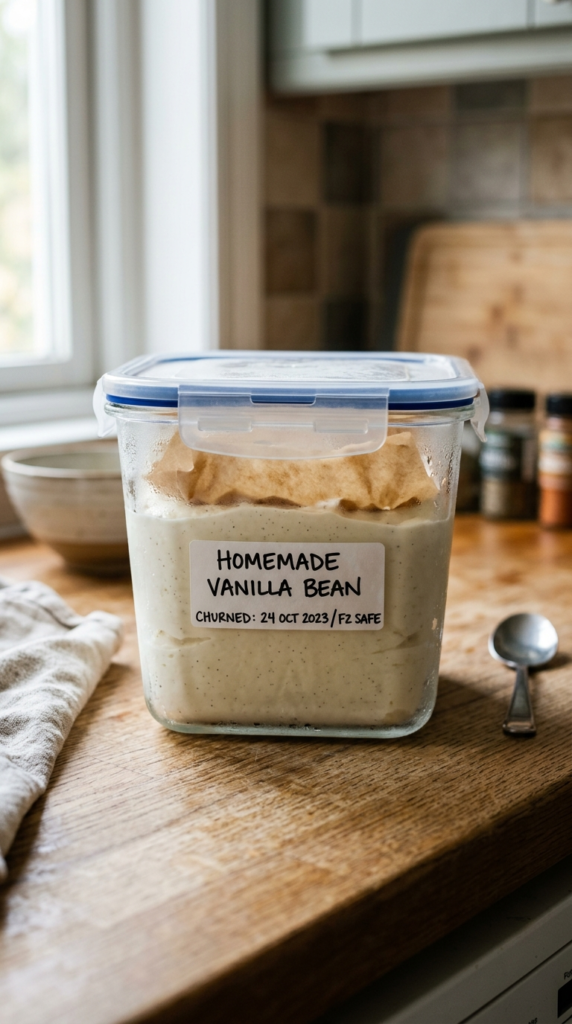
One of the beauties of these easy ice cream maker recipes is how well they store. Once your ice cream is churned and firmed up, transfer it to a freezer-safe, airtight container. I always press a piece of parchment paper directly onto the surface of the ice cream before putting on the lid; this little trick helps prevent ice crystals from forming and keeps it super creamy.
Your homemade ice cream will stay delicious for up to two weeks in the freezer. You can also make the ice cream base several days in advance and store it in the refrigerator until you’re ready to churn.
Delicious Flavor Variations to Try

Once you master the basic recipe, the sky’s the limit for creamy ice cream flavors! For a rich chocolate ice cream, melt 4 oz of good quality dark chocolate and whisk it into your warm base before chilling. For strawberry, puree about a cup of fresh strawberries with a tablespoon or two of sugar and stir it into the chilled base before churning.
You can also experiment with coffee, mint chip (add extract and chopped chocolate), or even peanut butter. If you’re ever in a pinch without an ice cream maker, you might love my no-churn chocolate ice cream recipe! Looking for more ways to cool down? Check out my favorite refreshing summer dessert recipes.
Adding mix-ins like chopped cookies, candy pieces, or nuts during the last 5 minutes of churning is another fantastic way to customize. Get creative and have fun with it!
Making your own ice cream is one of life’s simple pleasures, and with these easy ice cream maker recipes, you’re well on your way to enjoying the freshest, creamiest frozen treats right from your own kitchen. It’s truly a game-changer for summer desserts and beyond.
I hope these tips and recipes inspire you to dust off your ice cream maker and start churning! You won’t regret it.
Don’t forget to save this post for later, or better yet, share it with a friend who needs a delicious treat!